Create the event from your own account
This guide uses a beach volleyball pickup event as the example, but the same steps work for any sport you host in BracketIQ. This is not an organization event. You are creating the event from your own profile and using Stripe payments to collect the player fee.
After signing in, start a new event from your account. Open the event details page and begin with Basic Information.
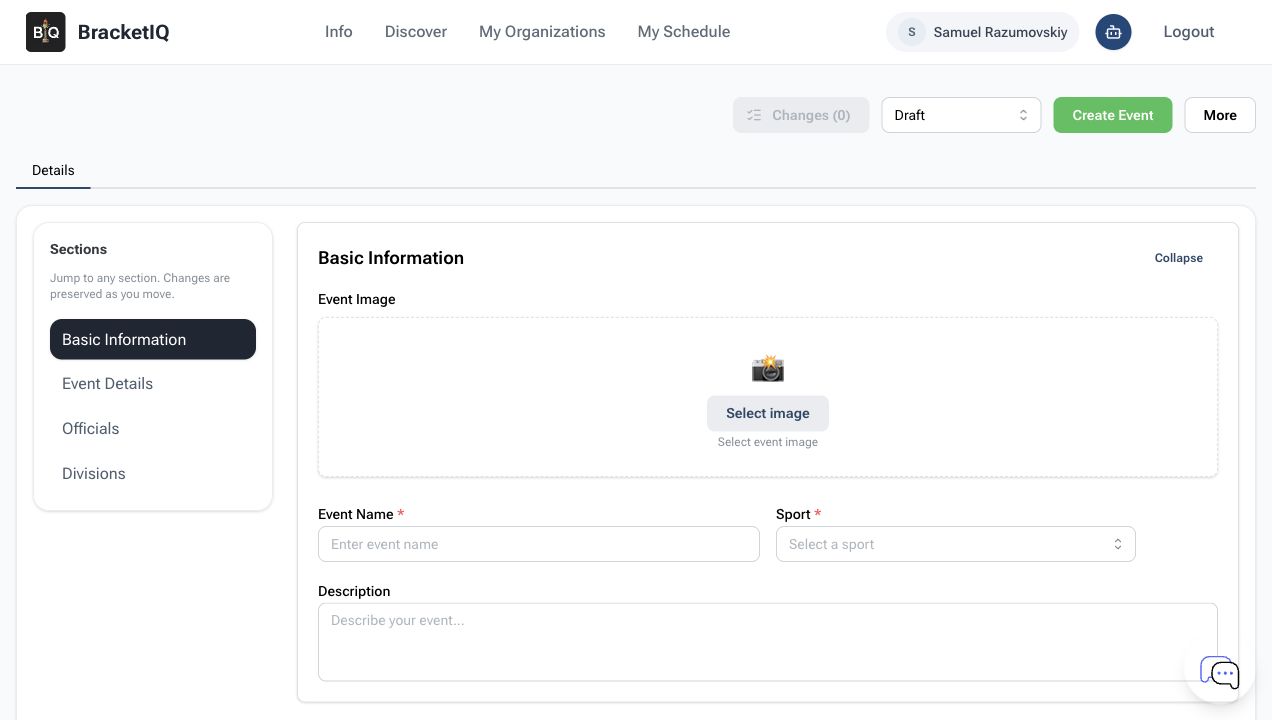
Before you add the description or price, check three things:
- You are signed in as the individual host, not an organization staff account.
- Your profile can take payments through Stripe.
- The event is an
Event, not a tournament, league, rental, or weekly event.
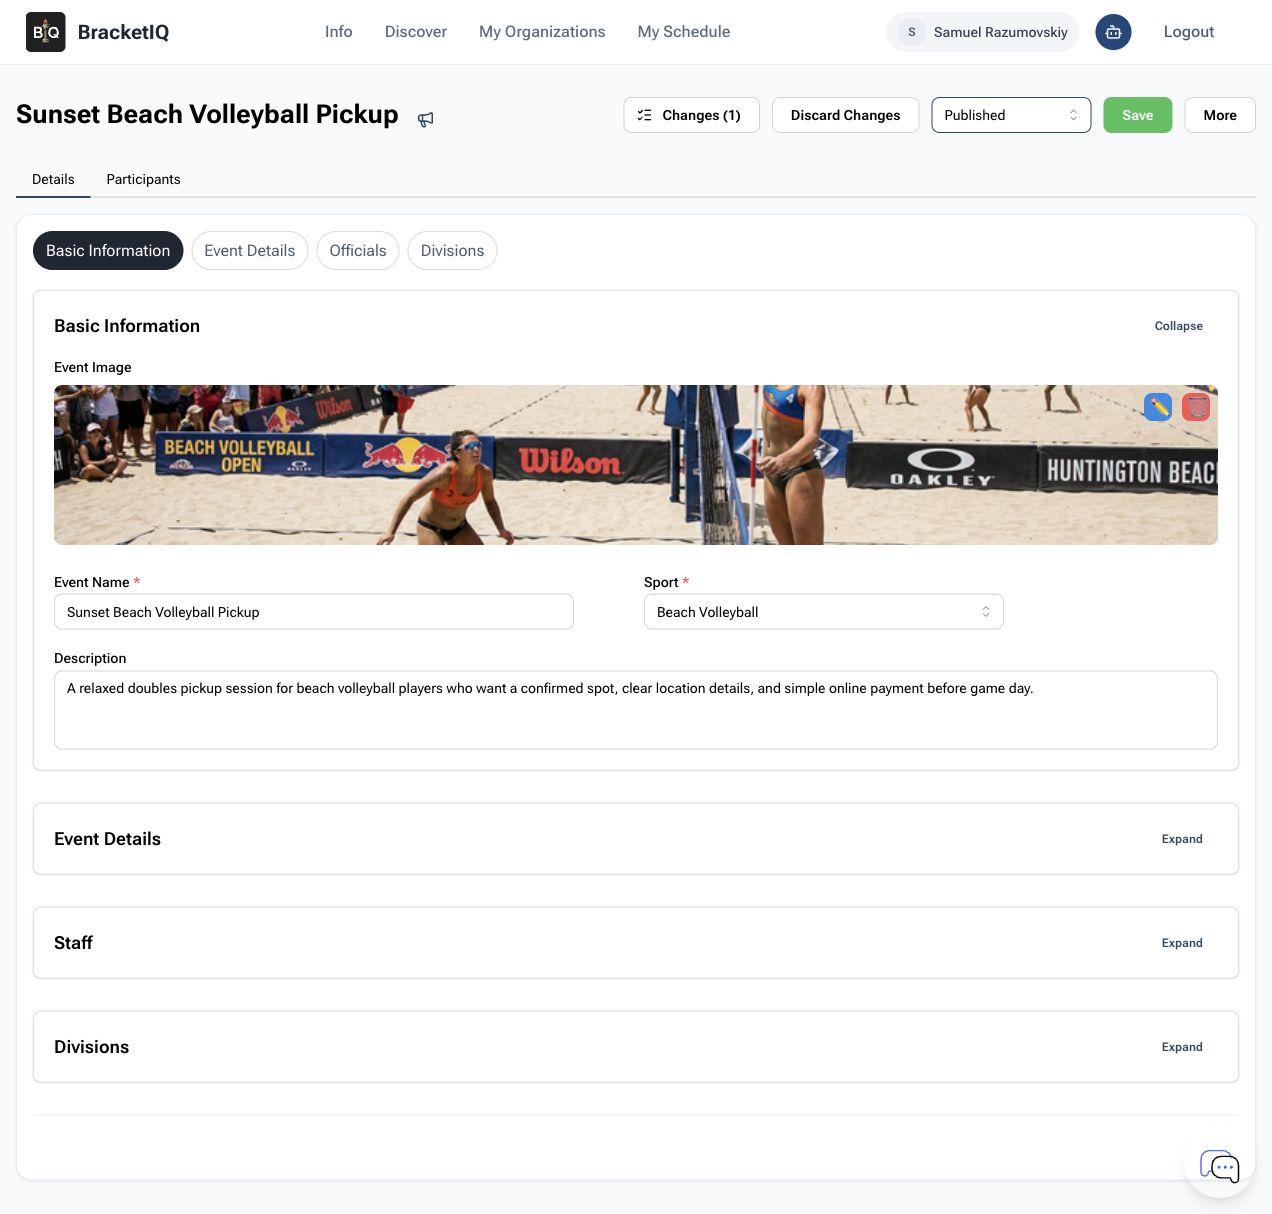
Add the image, sport, name, and description
Use Basic Information to make the event easy to understand before you share it. Add a matching event image, choose the sport, and give the event a name that tells players what they are joining. For a beach volleyball pickup event, a clear name could be Sunset Beach Volleyball Pickup.
The description should explain what players are joining and why they need to pay before game day. Keep it short enough to read on a phone.
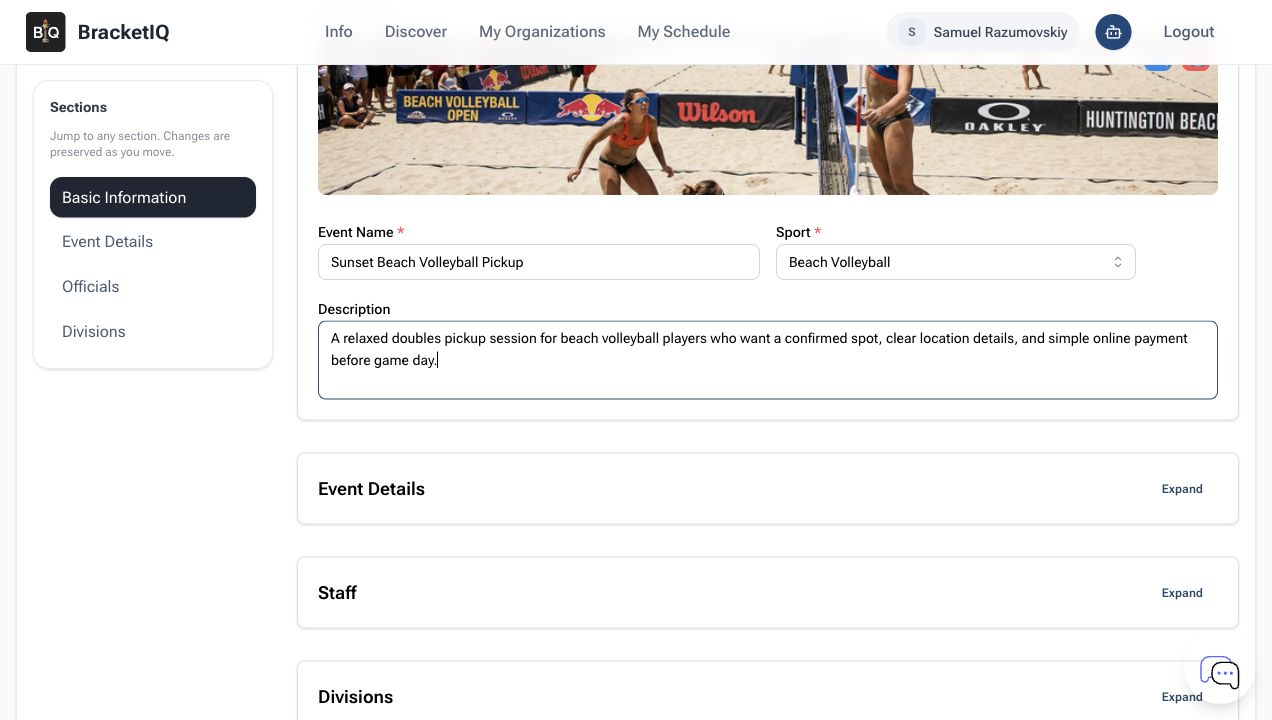
Complete Basic Information in this order:
- Select the uploaded event image.
- Enter
Sunset Beach Volleyball Pickupas the event name. - Choose
Beach Volleyballfrom the Sport picker. - Add a plain-language event description.
Set the pickup event details
Open Event Details next. For a pickup session, keep signups individual unless you need captains to sign up full teams. A simple doubles beach volleyball session can use:
- Event type:
Event - Signups: individual
- Team size:
2 - Start and end time: one evening session
- Signups close:
2h before start - Location:
Vancouver, WA
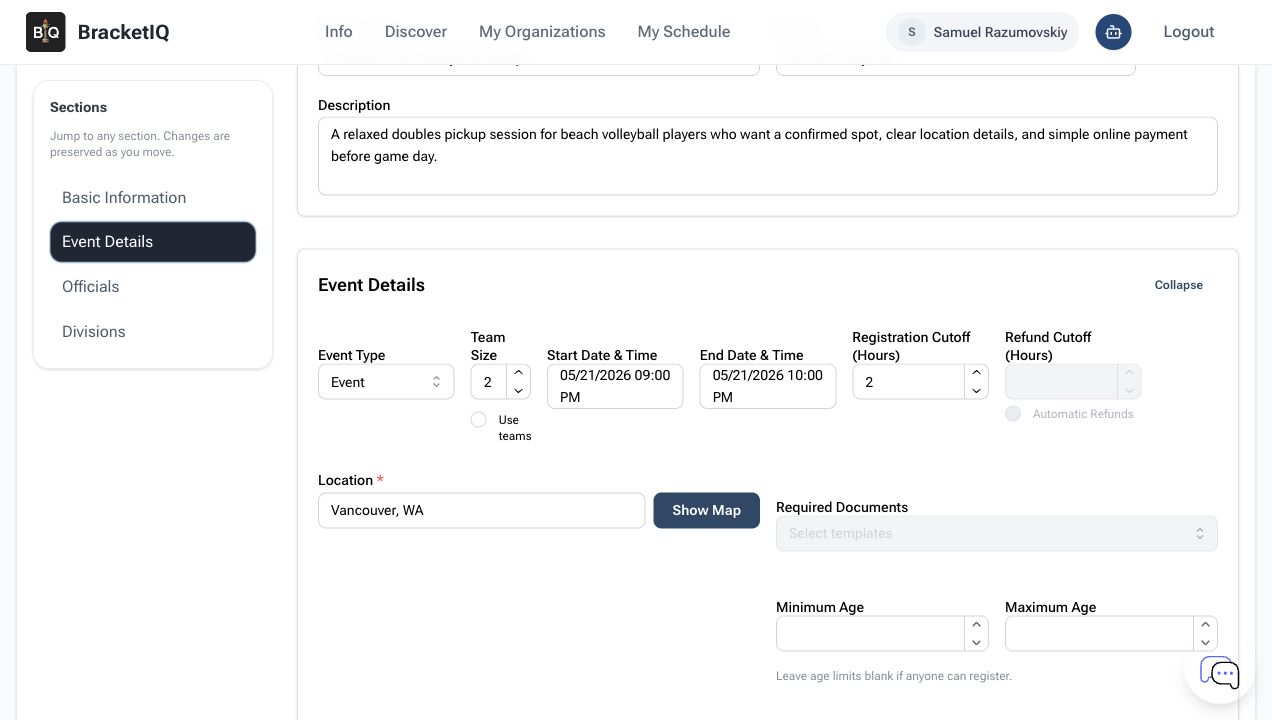
For pickup events, team size is still useful even when people sign up on their own. It tells players what kind of session to expect, such as doubles beach volleyball, 5v5 soccer, or 3v3 basketball.
Add spots, price, and division
The Divisions section is where you set the player spots and price. For this beach volleyball example, max players is 12 and the player price is $15.00.
When the price is entered, BracketIQ shows the online price players will see. Processing and platform costs are already included in that price, and tax may still be added when it applies.
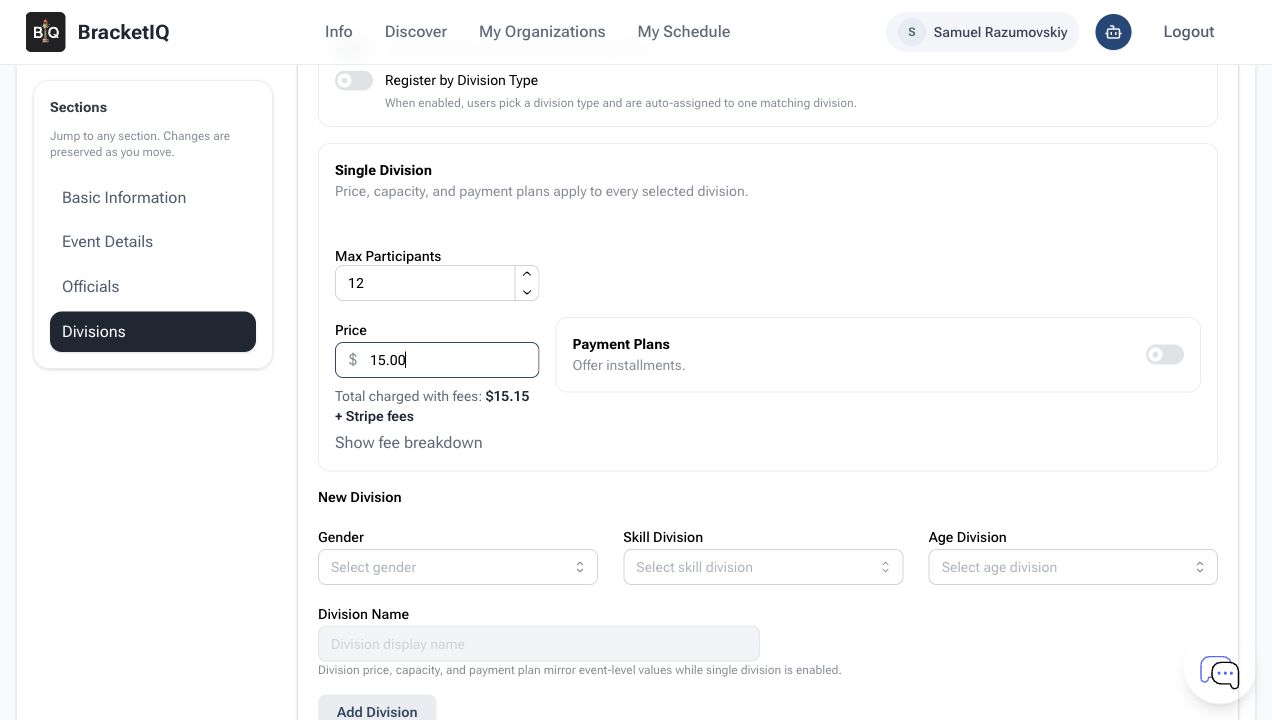
Do not skip the division. Even a single-division pickup event needs one division so BracketIQ knows who can join, how many spots are open, and what each player pays. For a casual adult pickup event, use a simple division such as:
- Gender:
CoEd - Skill division:
Open - Age division:
18+ - Price:
$15.00 - Max players:
12
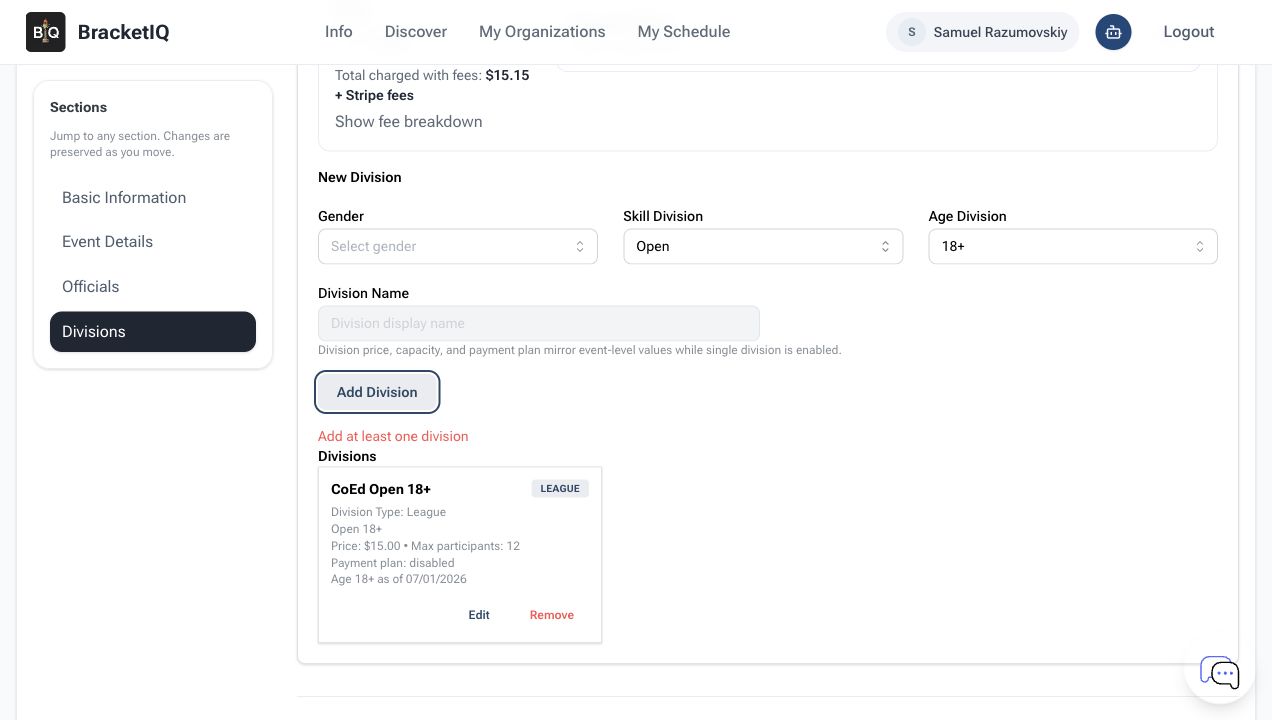
Use a simple division when the event is casual. Use more specific skill or age groups only when the event needs those rules.
Create, review, and publish the pickup event
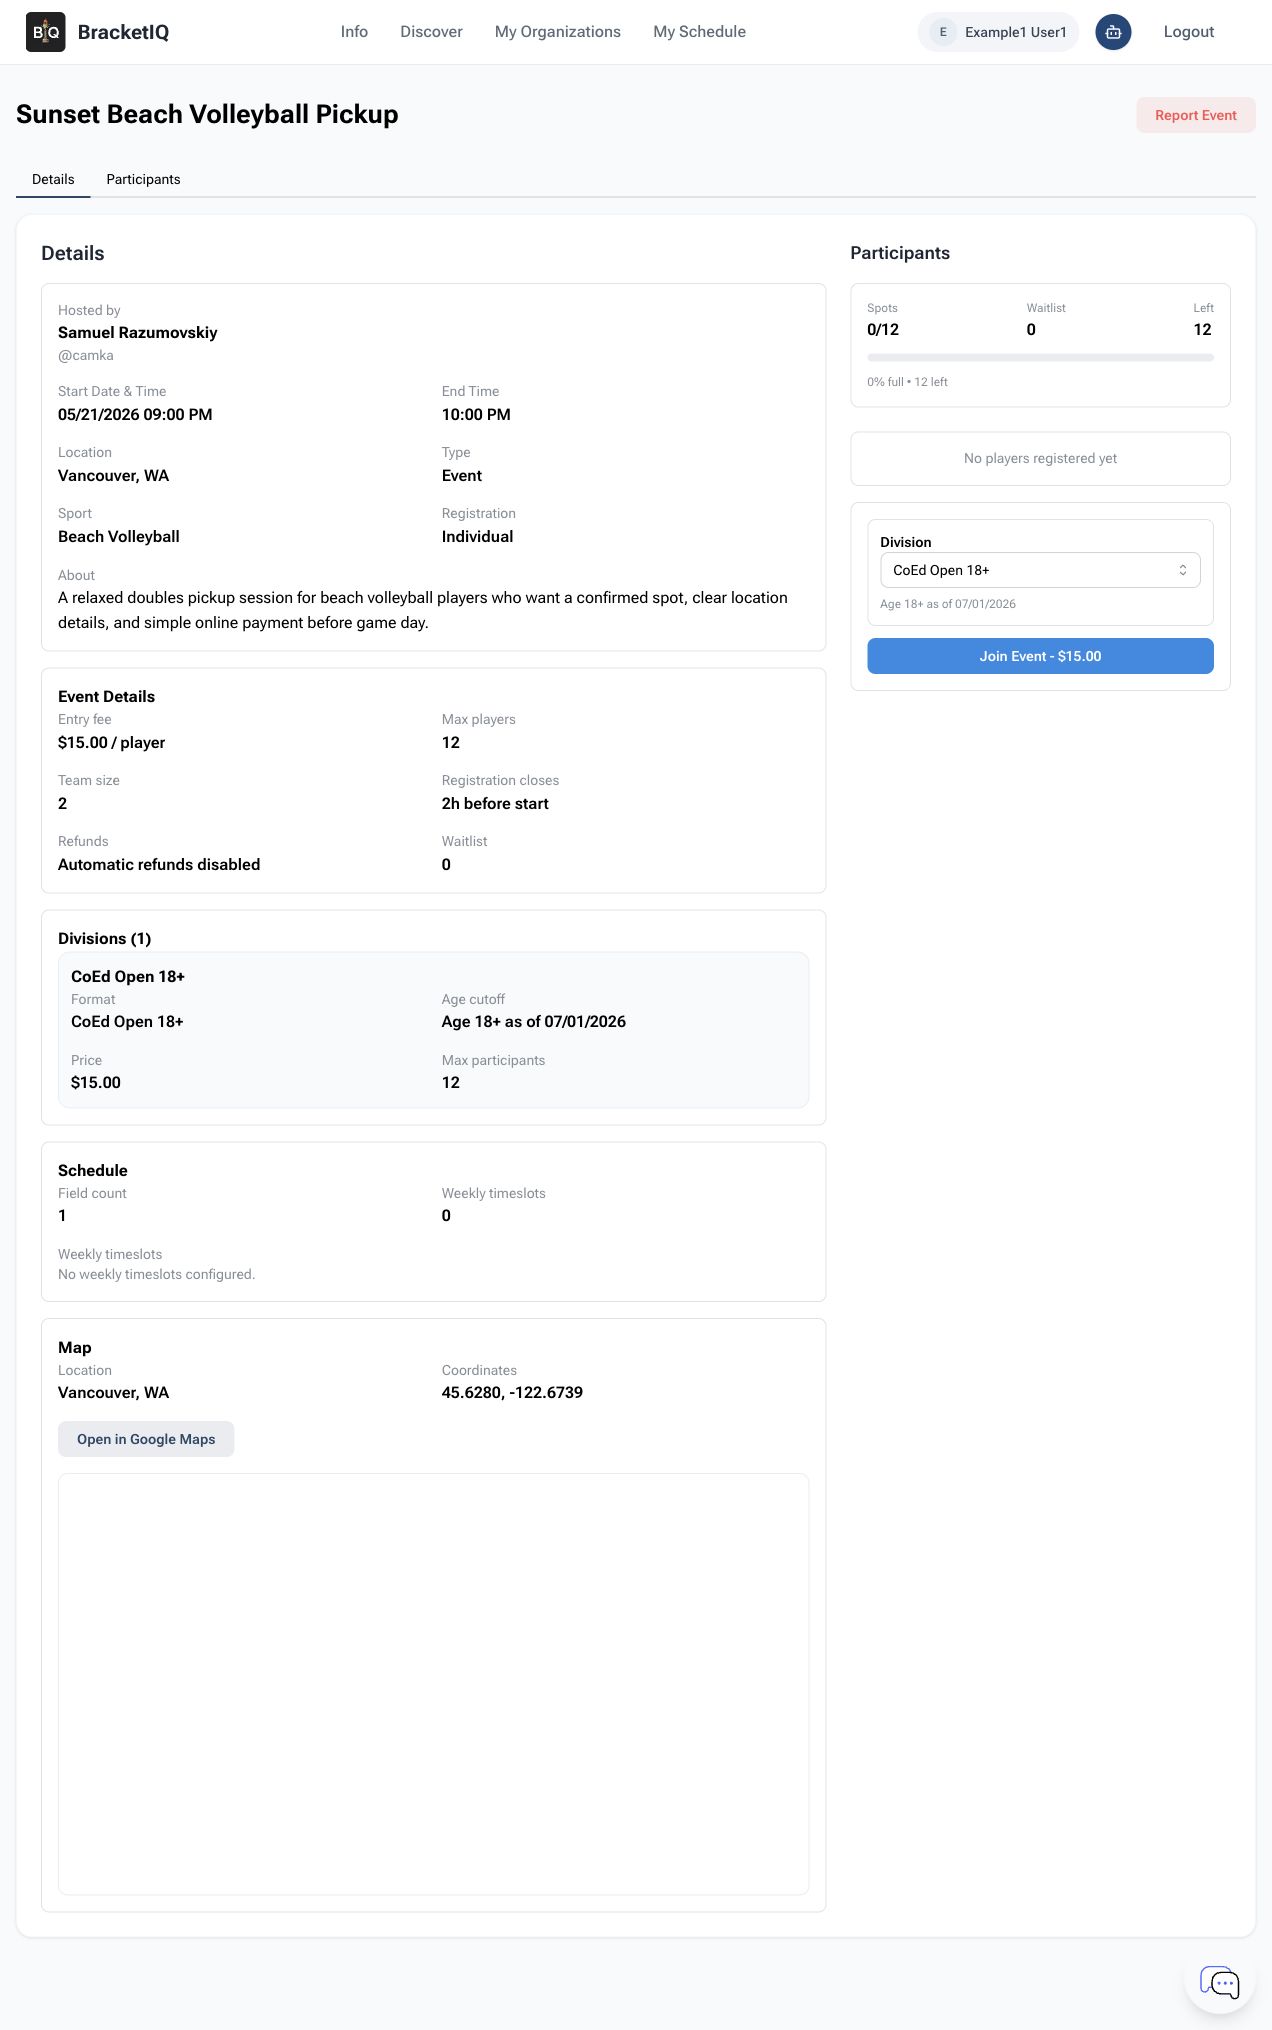
After the needed fields and division are complete, create the event. The event page should show the details players will see: image, start time, location, sport, price, spots, division, and the join button.
If the event is saved as a draft, it is not ready for players yet. To open it for signups, edit the event, change the status from Draft to Published, and save.
After saving, confirm that the event status remains Published.
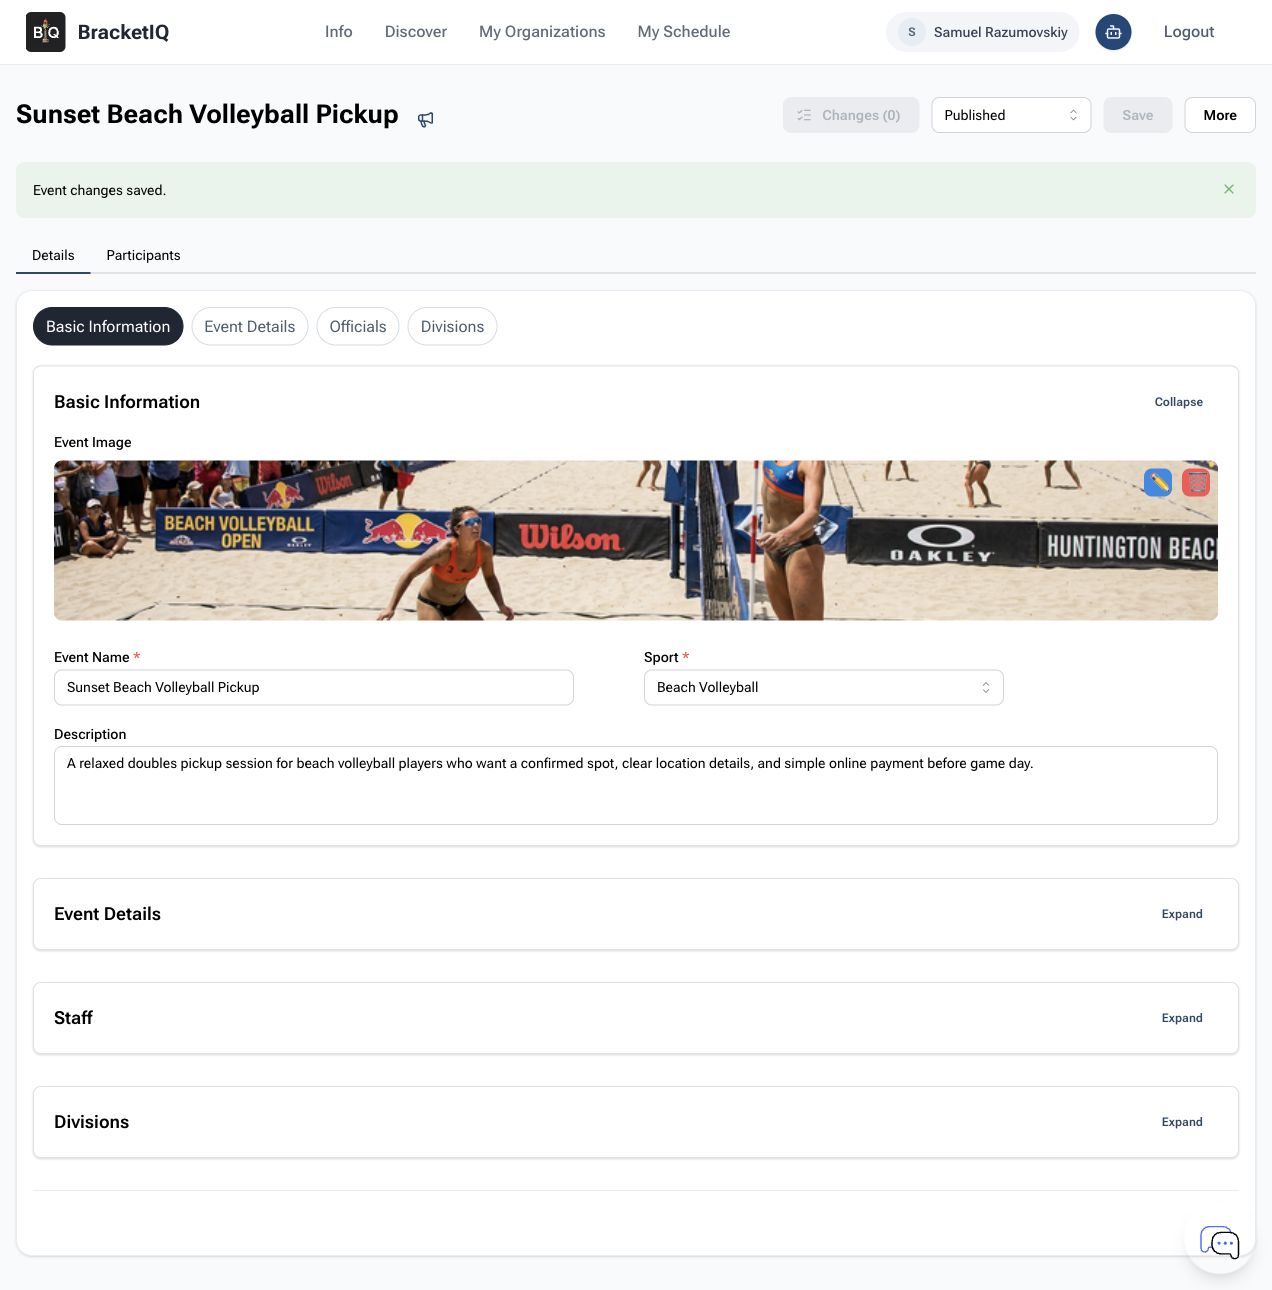
Draft events are hidden from players. If a player cannot open the event, check the event status before changing the rest of the setup.
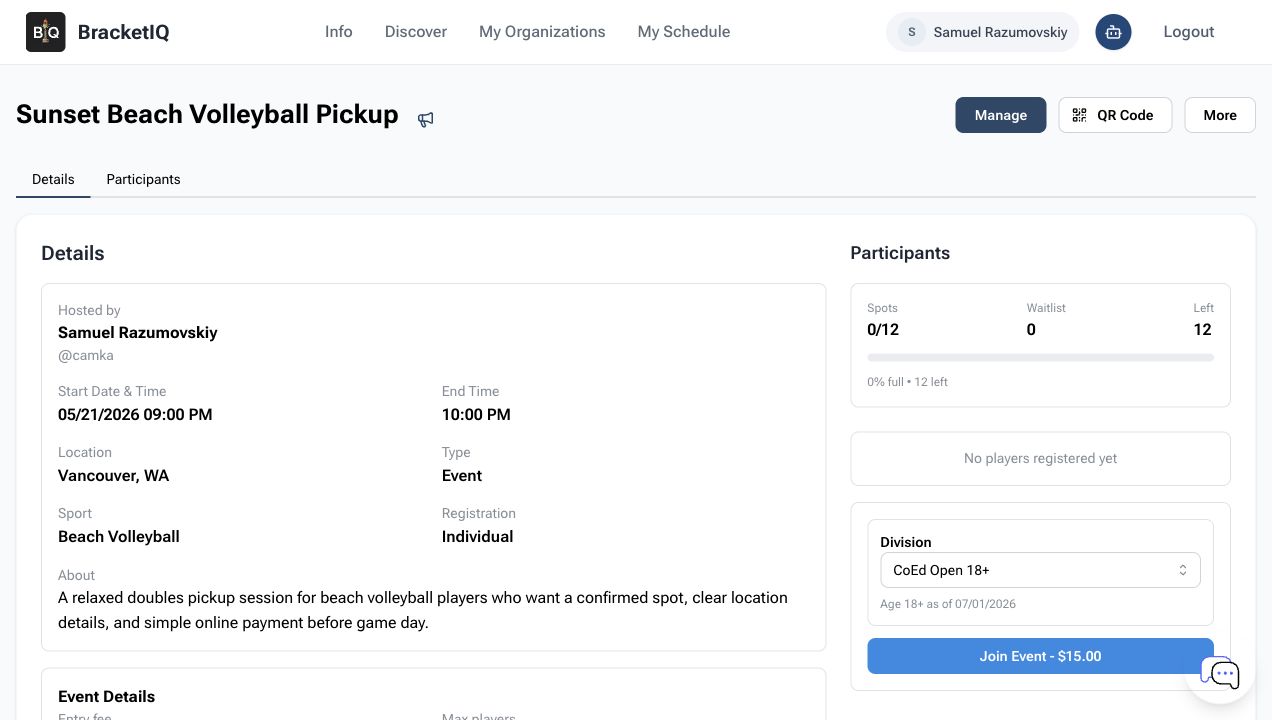
Check the player payment steps
Open the event as a player. The player should see the event details, the division field, the price, and the Join Event - $15.00 button.
When the player clicks Join Event, BracketIQ opens a payment review step. The player can check the event price and any applicable tax before paying.
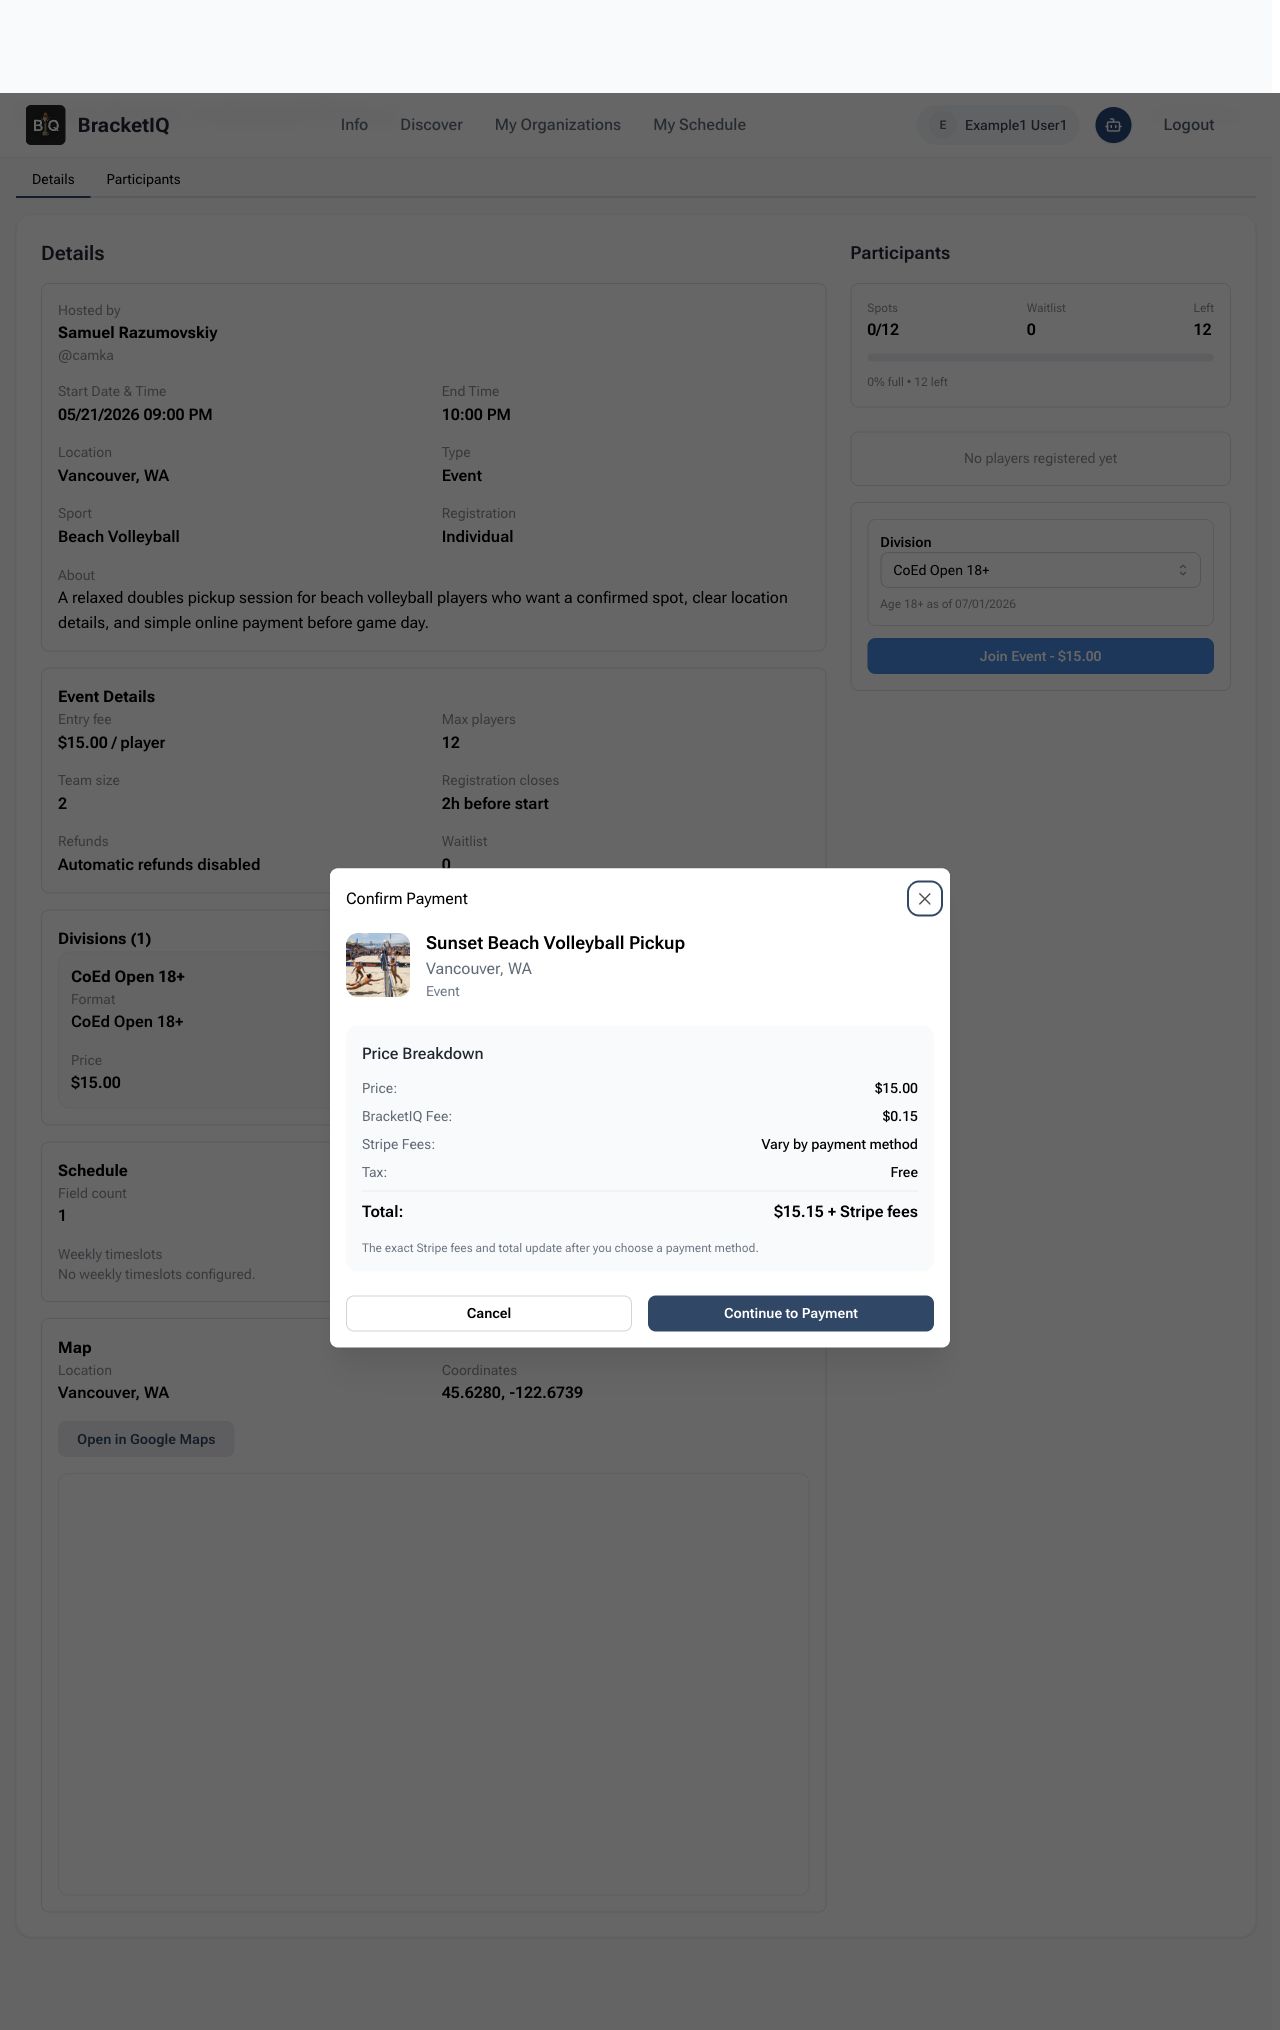
Clicking Continue to Payment opens the payment form. The total updates after the player chooses how to pay. For this example, the card total is $15.91.
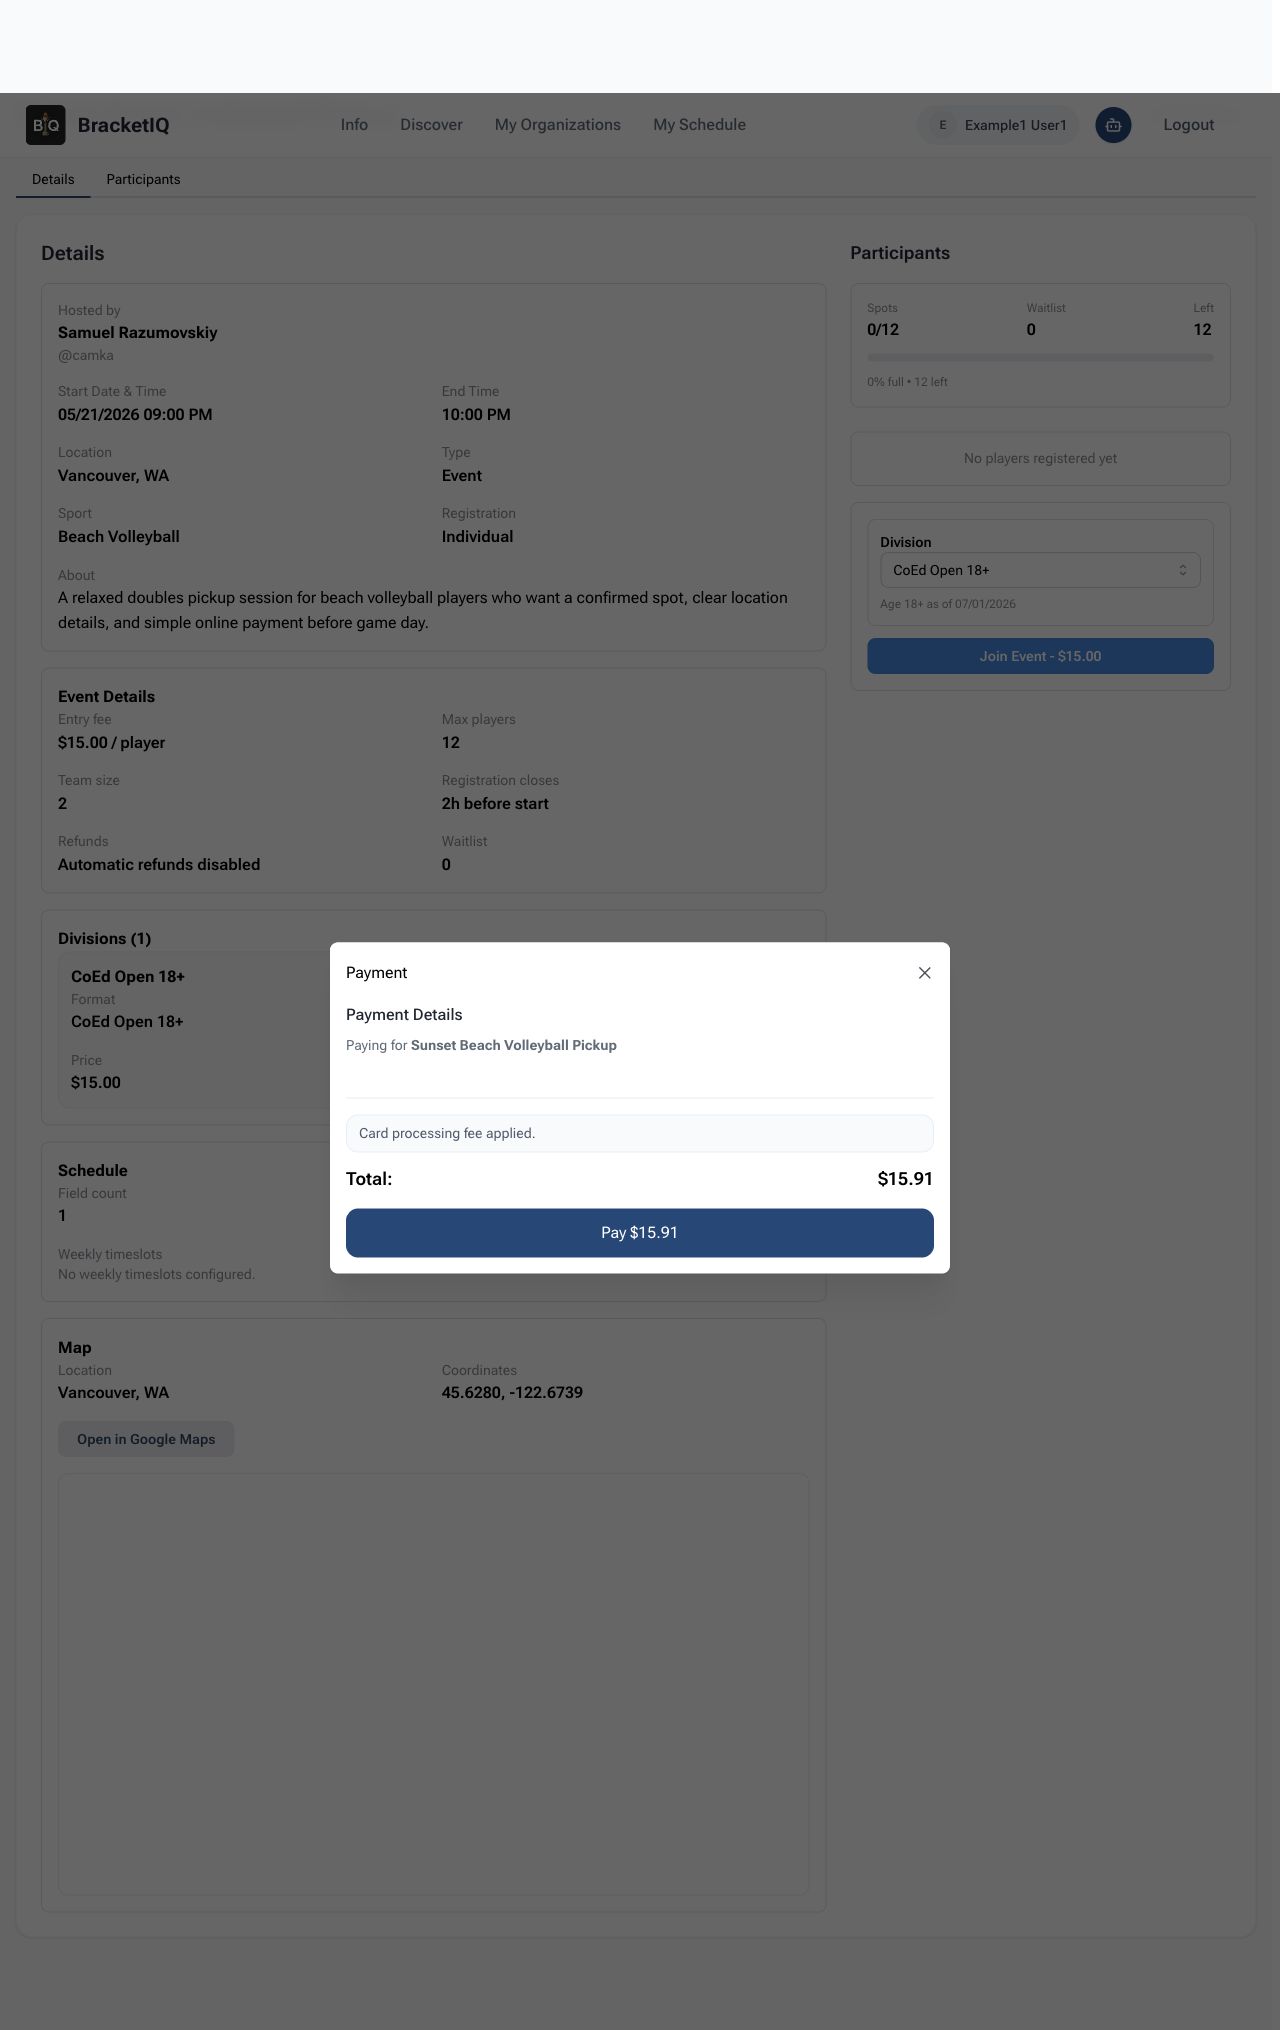
After the player pays, BracketIQ can mark the player as joined and keep the player list and payment record together.
Checklist for paid pickup events
Use this checklist when you create another paid pickup event:
- Start from your host account with payments turned on.
- Add a clear image, sport, event name, and short description.
- Keep signups individual unless the event needs team signups.
- Choose the right team size for the game type.
- Set the date, time, when signups close, and location before the price.
- Add max players and the player price.
- Add the division, even for a single-division event.
- Create the event, then publish it.
- Open the published event as a player and make sure payment starts.
That last check is worth doing every time. It proves the event is open and ready to take payments.
