Start with the organization you want people to find
Use an organization in BracketIQ when you run events as a club, facility, league operator, tournament director, or multi-sport group. The organization becomes the place where your public page, events, teams, fields, staff, payments, rentals, and customer history can connect.
Before you create the organization, decide:
- The public name people should recognize.
- The sports the organization supports.
- Whether it should appear publicly or stay unlisted.
- The location players, parents, teams, and renters should associate with it.
- Whether the organization operates or rents out an athletic facility.
- Who should help manage staff, events, teams, fields, payments, and public listings.
BracketIQ turns those details into an organization workspace with an Overview, Events, Teams, Customers, Event Templates, Document Templates, Staff, Refunds, Public Page, Fields, and Store tabs.
Open My Organizations
After signing in, open My Organizations from the main navigation. If this is the first organization on the account, the page shows an empty state and a Create Organization button.
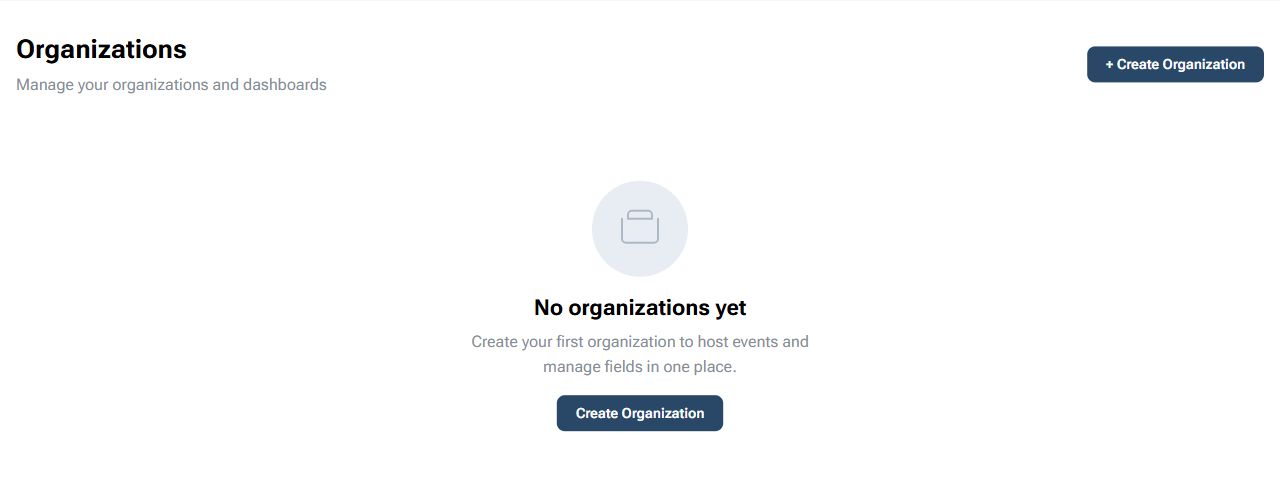
Use this page as the starting point for clubs, facilities, and event organizers. Personal events can still be created from a user account, but organization events are better when staff, public pages, fields, teams, customers, and future rentals need to stay connected.
Fill in the organization setup
Click Create Organization and enter the organization profile details. Use a name, description, website, sports list, location, and visibility setting that you would be comfortable showing to players or parents.
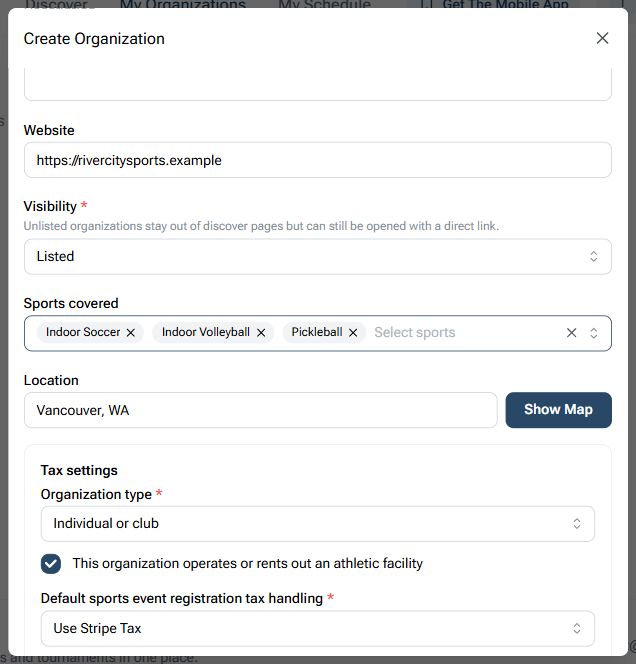
For this example:
- Name:
River City Sports Club - Website: the organization website.
- Visibility:
Listed. - Sports covered:
Indoor Soccer,Indoor Volleyball, andPickleball. - Location:
Vancouver, WA. - Facility setting: enabled because the organization operates or rents athletic space.
- Organization type:
Individual or club. - Default event tax handling:
Use Stripe Tax.
The tax responsibility checkbox must be accepted before saving. BracketIQ uses that acknowledgement so the organization can decide how sports registrations and facility rentals should be handled before paid workflows are opened.
Use Listed when you want the organization discoverable. Use Unlisted when the organization should stay hidden from discovery but still be accessible by direct link.
Save and confirm the organization card
After the form is complete, click Create Organization. BracketIQ returns you to the Organizations page and shows the new organization card.
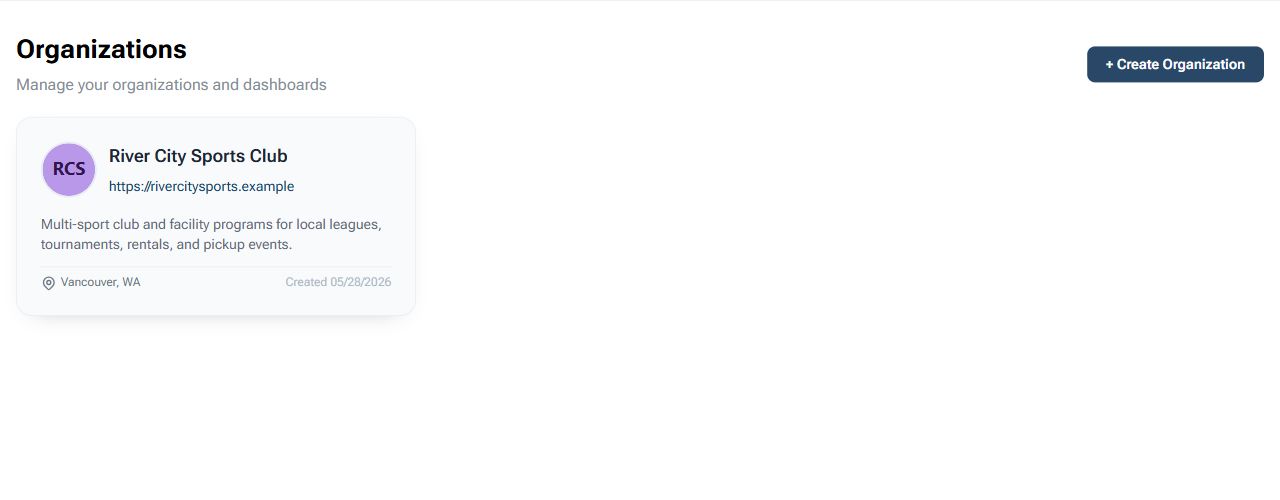
Check the card before moving on:
- The organization name is spelled correctly.
- The website is the right one.
- The description is short and clear.
- The location is correct.
- The card opens the organization dashboard when selected.
If the card already looks wrong, open the organization and use Edit Organization from the Overview tab before you create events or share links.
Review the organization dashboard
Open the organization card. The dashboard is where you decide what to set up next.
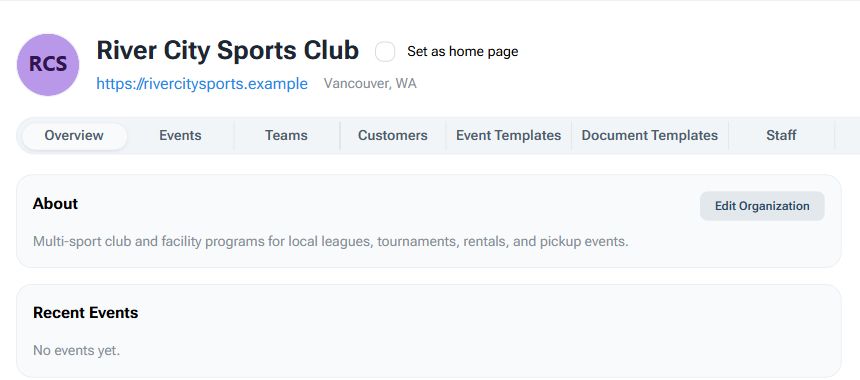
The Overview tab confirms the public-facing basics and gives the owner a place to edit the organization. The tabs across the top show the main organization workflows:
Eventsfor organization-hosted events, leagues, tournaments, weekly sessions, and rentals.Teamsfor teams attached to the organization.Customersfor participants, teams, bills, documents, and history when enabled.Event TemplatesandDocument Templatesfor repeatable event and waiver workflows.Stafffor hosts, officials, and operational access.Refundsfor organization-level refund review.Public Pagefor the branded public page and embeds.Fieldsfor courts, fields, rinks, or rentable surfaces.Storefor memberships, passes, and products.
You do not need every tab on day one. Start with the tabs that match how the organization operates. A club may begin with Teams and Staff. A facility may begin with Fields, Public Page, Store, and Events. A tournament organizer may begin with Staff, Public Page, and Events.
Enable the public page
Open the Public Page tab when the organization is ready to be shared. Set the public slug, choose brand colors, enable the public page, and enable widgets if you plan to embed BracketIQ sections on another website.

Review these settings:
Public slugcontrols the public organization URL.Primary colorandAccent colorstyle the public page.Public pagemust be enabled before visitors can open the page.Widgetsmust be enabled before iframe or script snippets can be used.Public headlineshould say what the organization is.Public intro textshould explain what visitors can find there.Allowed embed domainscan restrict where widgets are allowed.Completion redirect URLcan send customers back to your own site after public actions.
Click Save after changing the public page settings. Once the slug is saved, the preview links and embed snippets become usable.
Check the public organization page
Open the public page after saving. This is the page players, parents, renters, teams, or customers will use when they find the organization outside the manager dashboard.
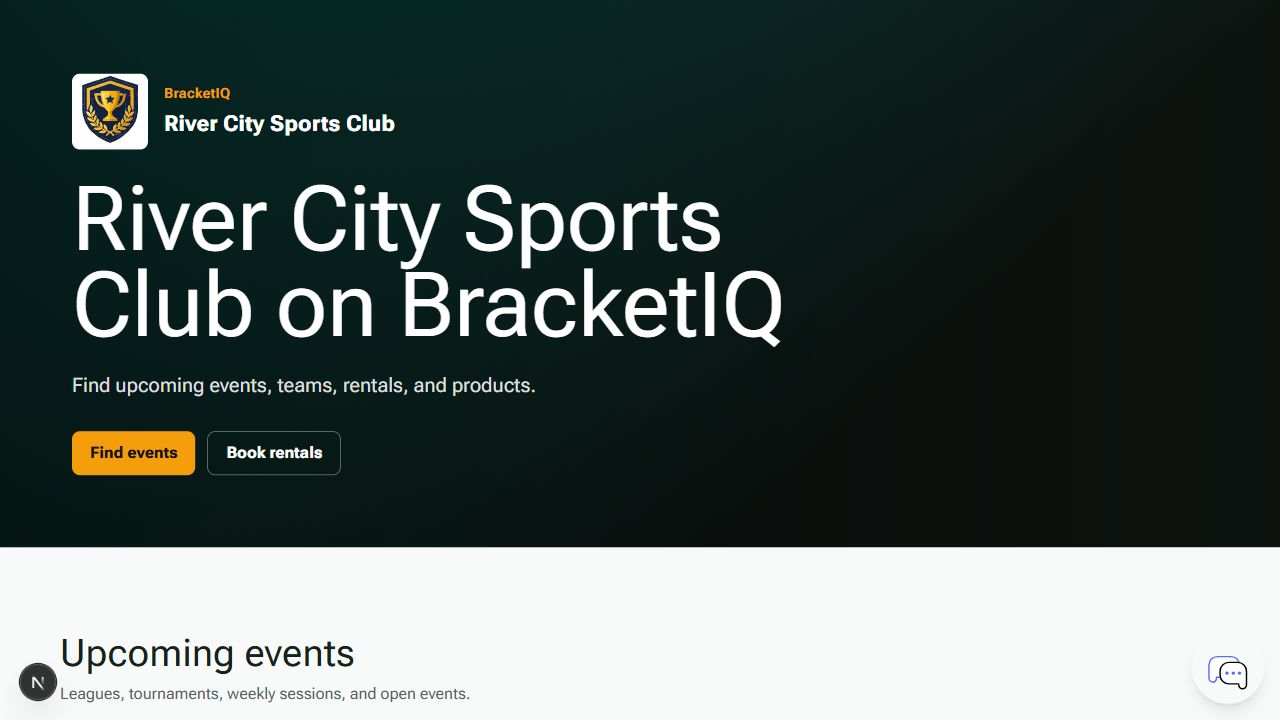
Check the public page for:
- Organization name and headline.
- Intro text.
- Calls to action such as finding events or booking rentals.
- Upcoming events.
- Public teams.
- Rentals.
- Products.
An empty public page is still useful as a foundation, but it becomes more valuable as events, teams, fields, rental slots, and products are added. Do this check before sharing the public link with participants or embedding it on a facility website.
Review staff access
Open the Staff tab before other people start helping manage the organization. BracketIQ keeps staff invites, roles, and roster status together in one place.

Use this tab to:
- Invite existing BracketIQ users.
- Send email invites to staff who do not have accounts yet.
- Assign a staff role.
- Filter the roster by name, role, or status.
- Review active, pending, and declined staff access.
- Keep the owner locked as the controlling account.
Only give people the access they need. A facility employee may need fields, rentals, or event support. A coach may need teams and rosters. A tournament director may need event management, staff, schedules, and results.
Organization setup checklist
Use this checklist when creating a new organization:
- Open
My Organizations. - Click
Create Organization. - Add the public organization name.
- Write a short description.
- Add the website.
- Choose
ListedorUnlisted. - Select the sports covered.
- Confirm the location.
- Mark whether the organization operates or rents athletic space.
- Choose the organization type and default event tax handling.
- Accept the tax responsibility agreement.
- Save the organization.
- Open the dashboard and review the available tabs.
- Enable and save the public page when the organization is ready to be shared.
- Open the public page and verify what visitors see.
- Review Staff before inviting people to help manage the organization.
After the organization exists, use it as the workspace for the next operational workflow. You can create a league, create a tournament, or set up a paid pickup event from the BracketIQ workflows that match what the organization is hosting.
