Start with the tournament you want players to understand
This guide uses a one-day indoor soccer tournament as the example, but the same setup pattern works for volleyball, outdoor soccer, basketball, tennis, hockey, baseball, football, and other recreational sports.
Before you start the form, decide the basics:
- The sport and event name players will recognize.
- How captains should register teams, and whether players without a team should have a free-agent path later.
- The date, start time, and location.
- The number of courts, fields, rinks, or surfaces you can use.
- The divisions you will offer.
- Whether the tournament is free or paid.
BracketIQ turns those decisions into a public event page, registration settings, tournament divisions, and schedule inputs that you can manage from the event dashboard.
Create a new tournament draft
After signing in, start a new event and open the Details tab. BracketIQ starts the event as a draft so you can build the tournament before players see it.

Use draft mode while you are still confirming the format, capacity, and schedule windows. You can publish after the event page looks right.
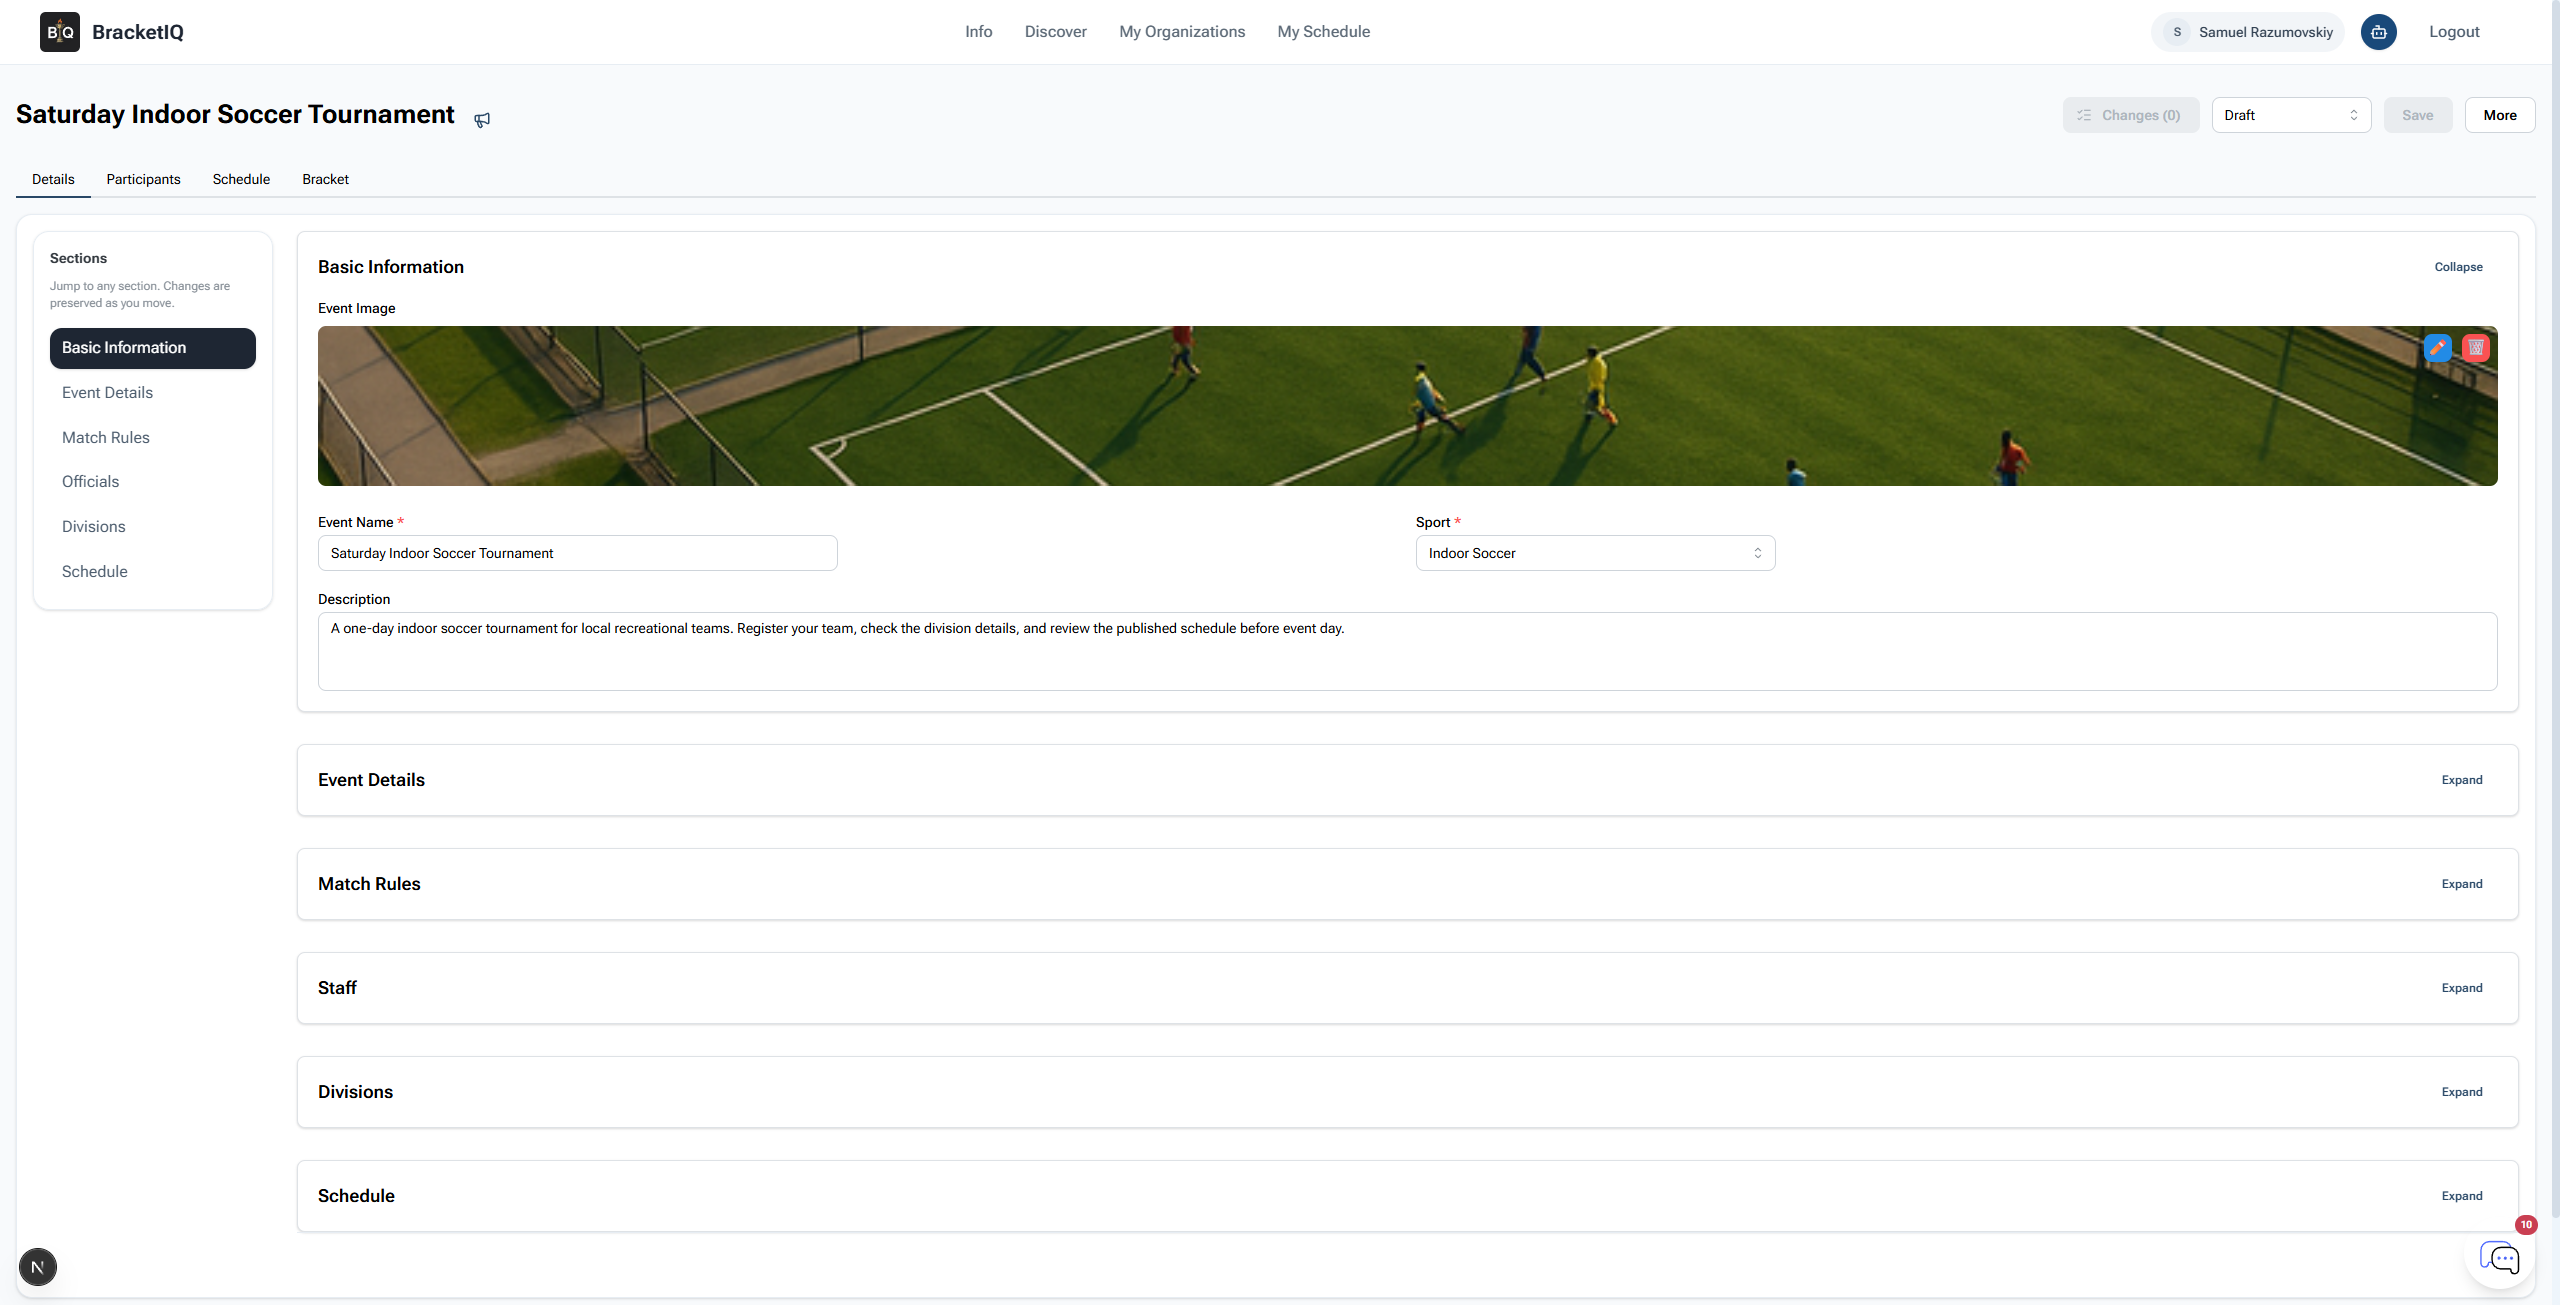
Add the basic information
Open Basic Information first. Add a clear event image, choose the sport, enter the tournament name, and write a short description.
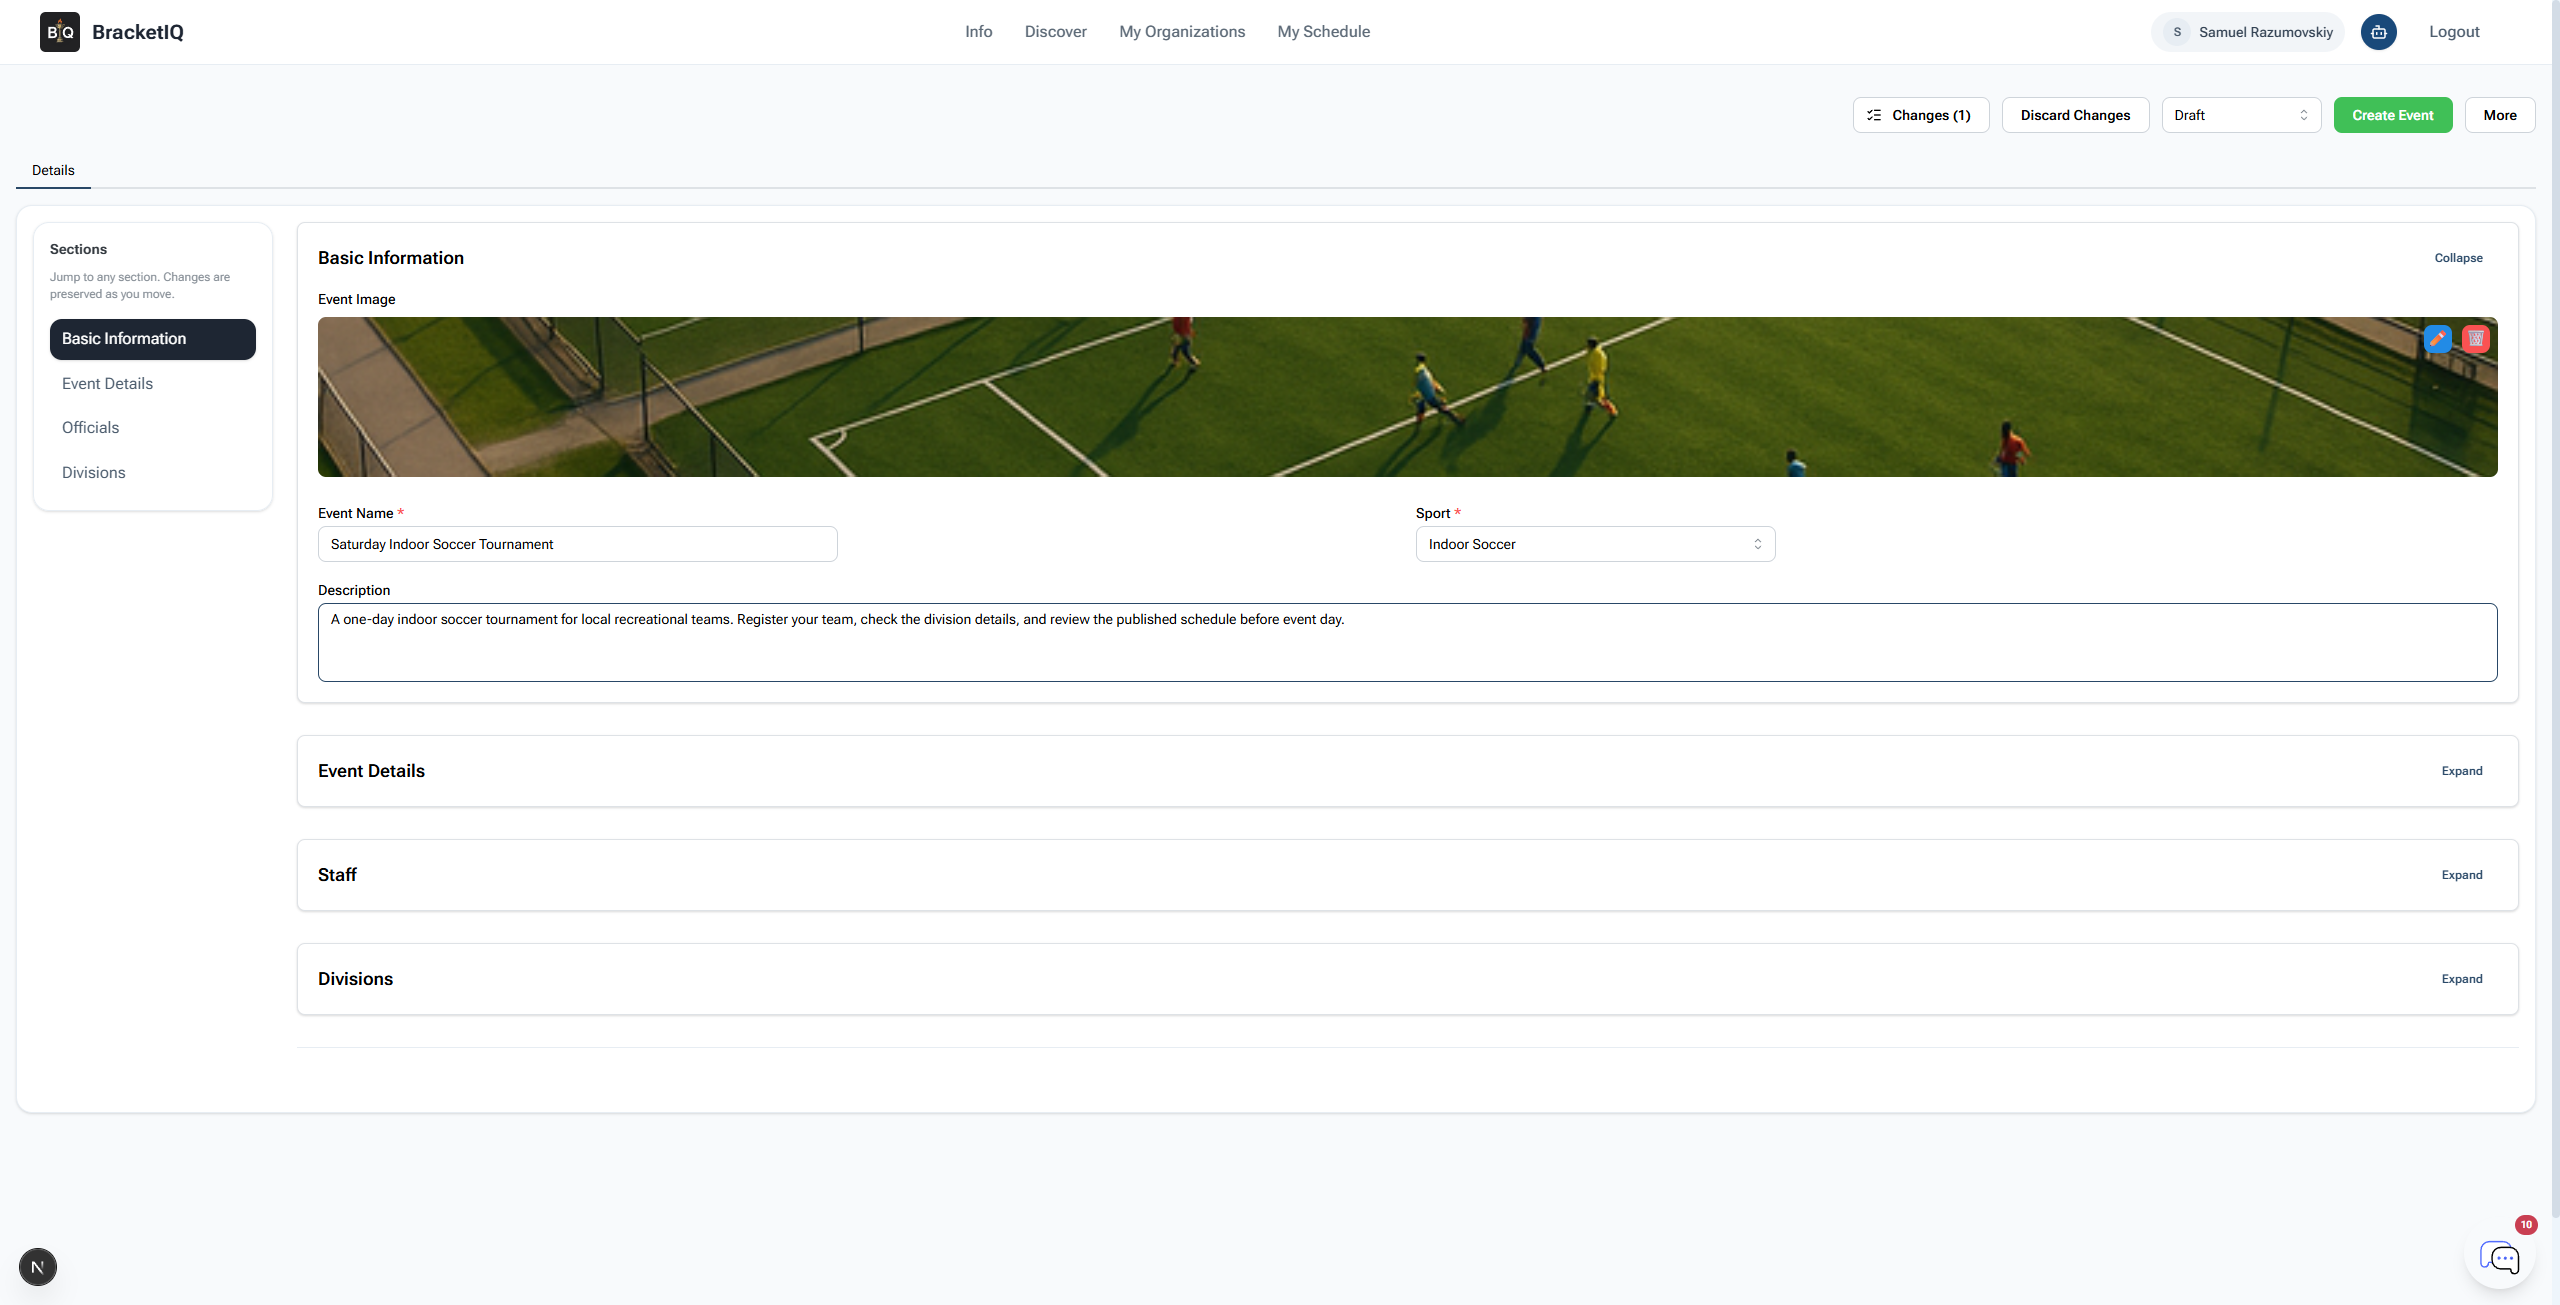
For the example tournament:
- Event name:
Saturday Indoor Soccer Tournament - Sport:
Indoor Soccer - Description: a short note that tells teams what they are joining and when to check the schedule.
The name should be specific enough to make sense in a public event list. Include the sport, format, or audience when it helps players decide quickly.
Set the tournament details
Open Event Details and change Event Type to Tournament. BracketIQ switches the form to tournament setup, including team registration, tournament configuration, divisions, and schedulable court or field windows.
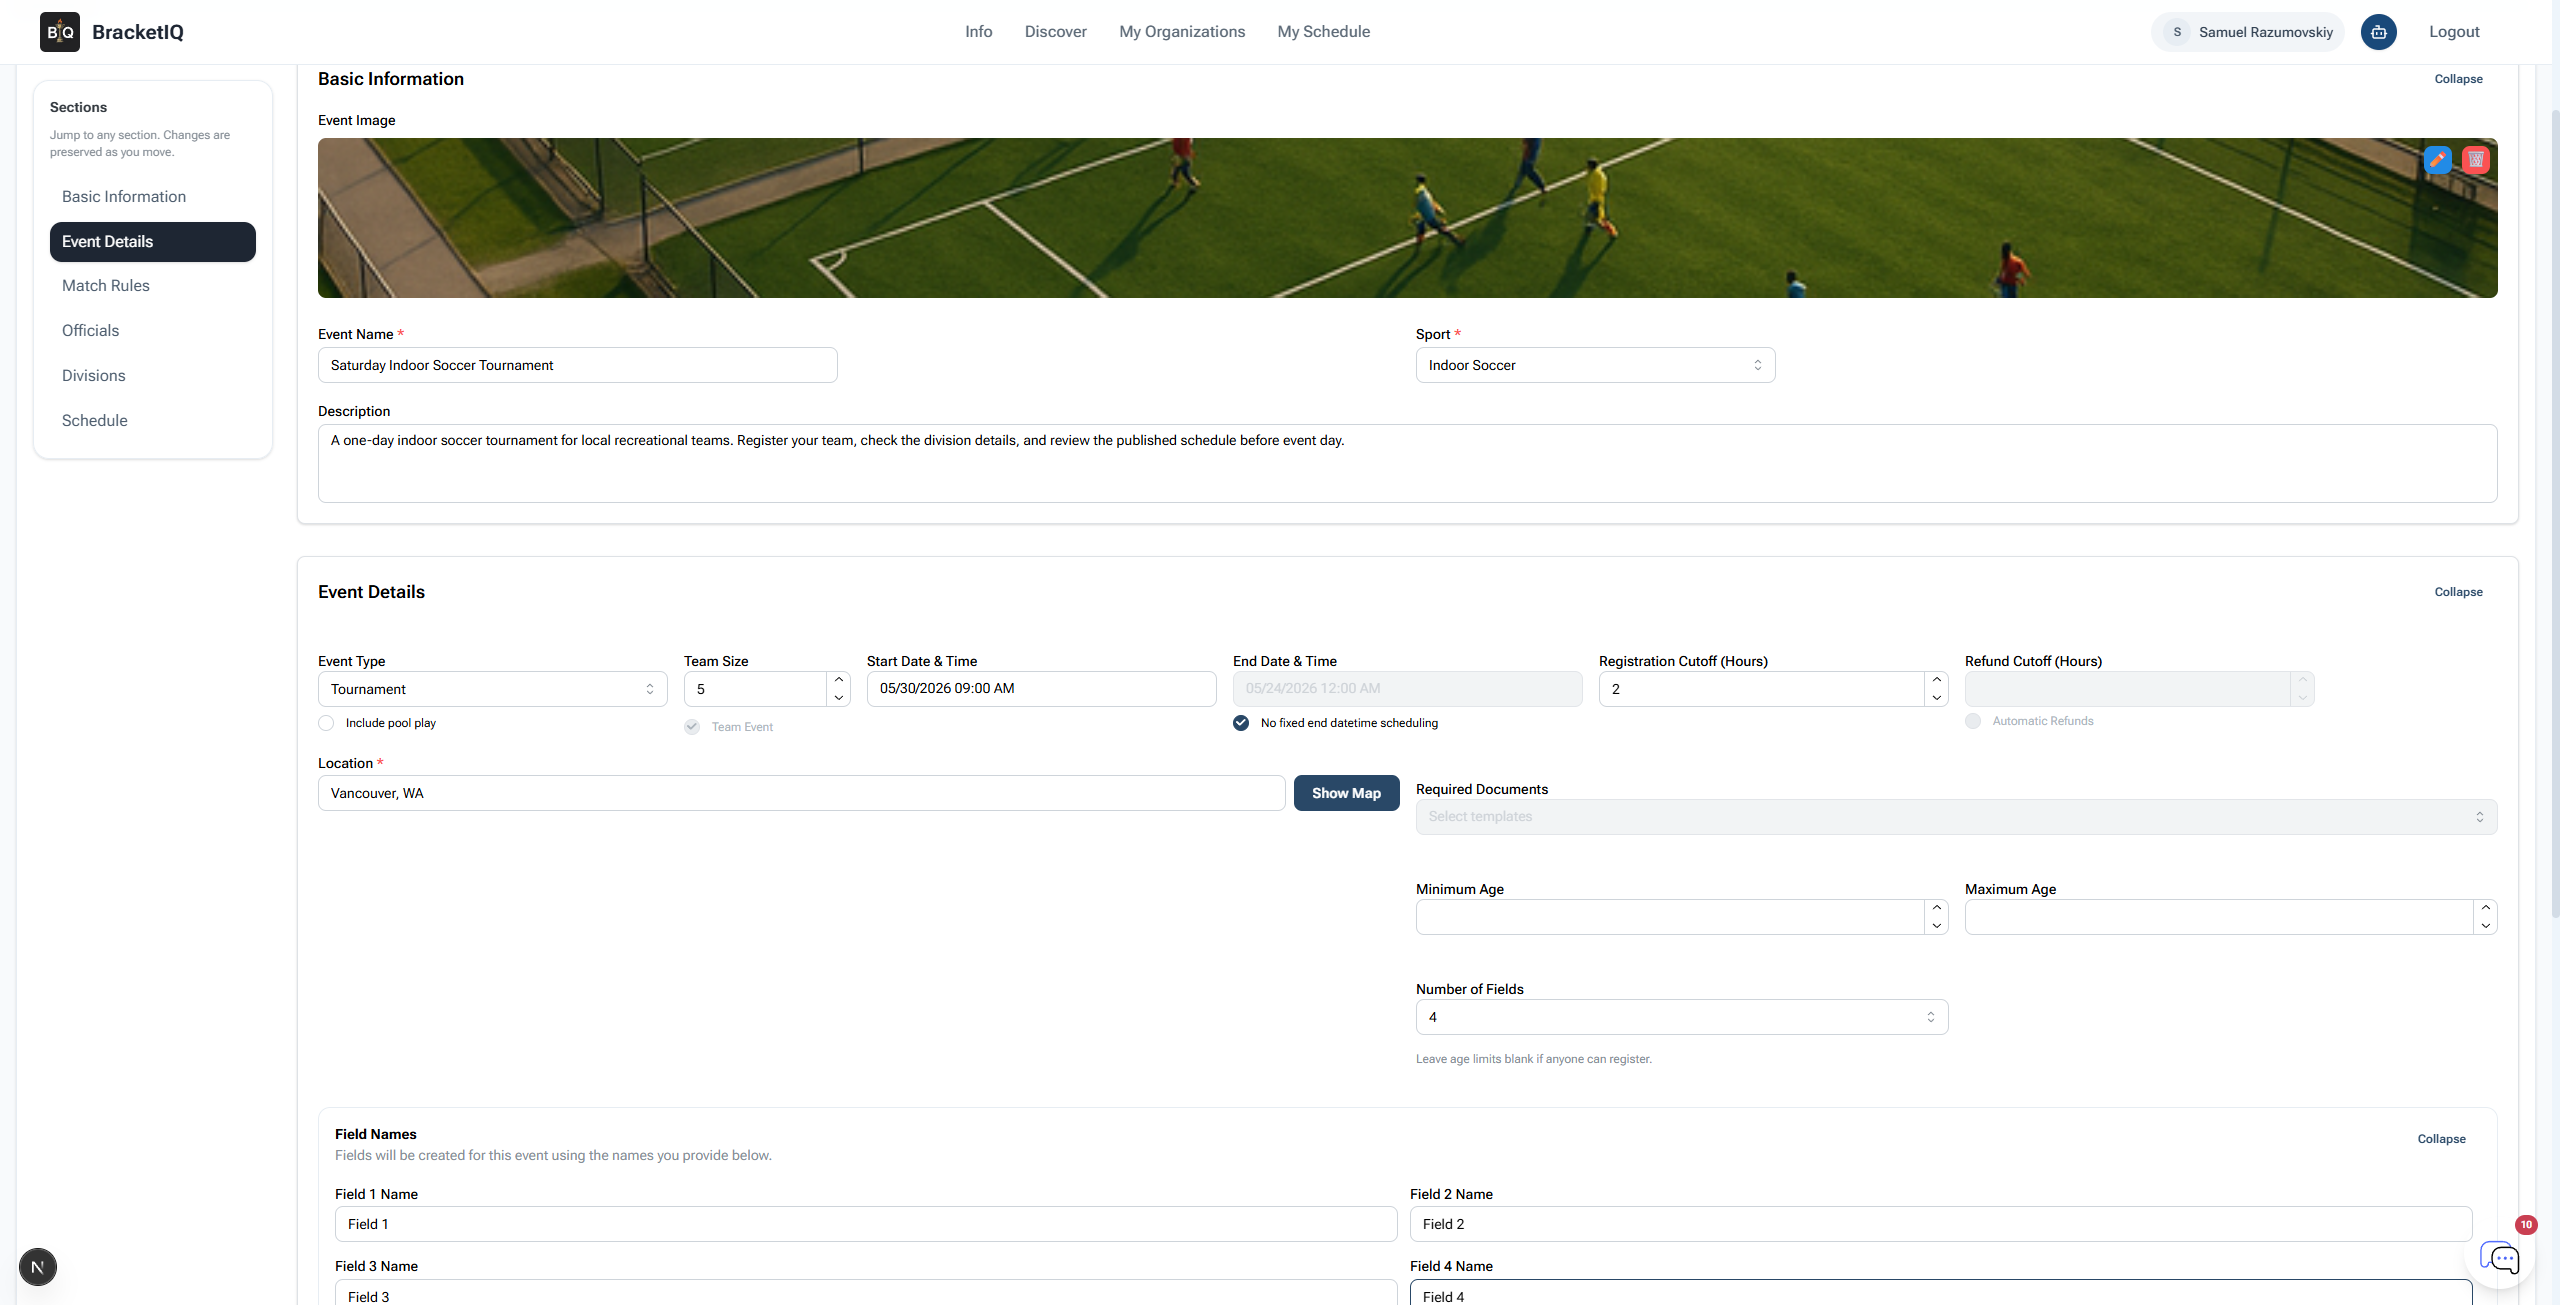
For an indoor soccer tournament, use:
- Event type:
Tournament - Team size:
5 - Start date and time: the first time teams should expect tournament activity.
- Registration cutoff: how long before the start time registration should close.
- Location: the real venue or city players should use.
- Number of fields: the number of courts, fields, or surfaces you can schedule.
Name the surfaces the way players and staff will talk about them on site. Court 1, Court 2, North Field, Rink A, or Diamond 3 are better than generic labels when the schedule is published.
Add the division and registration settings
Open Divisions next. A single-division tournament still needs a division because BracketIQ uses it for team capacity, registration rules, price, and scheduling.
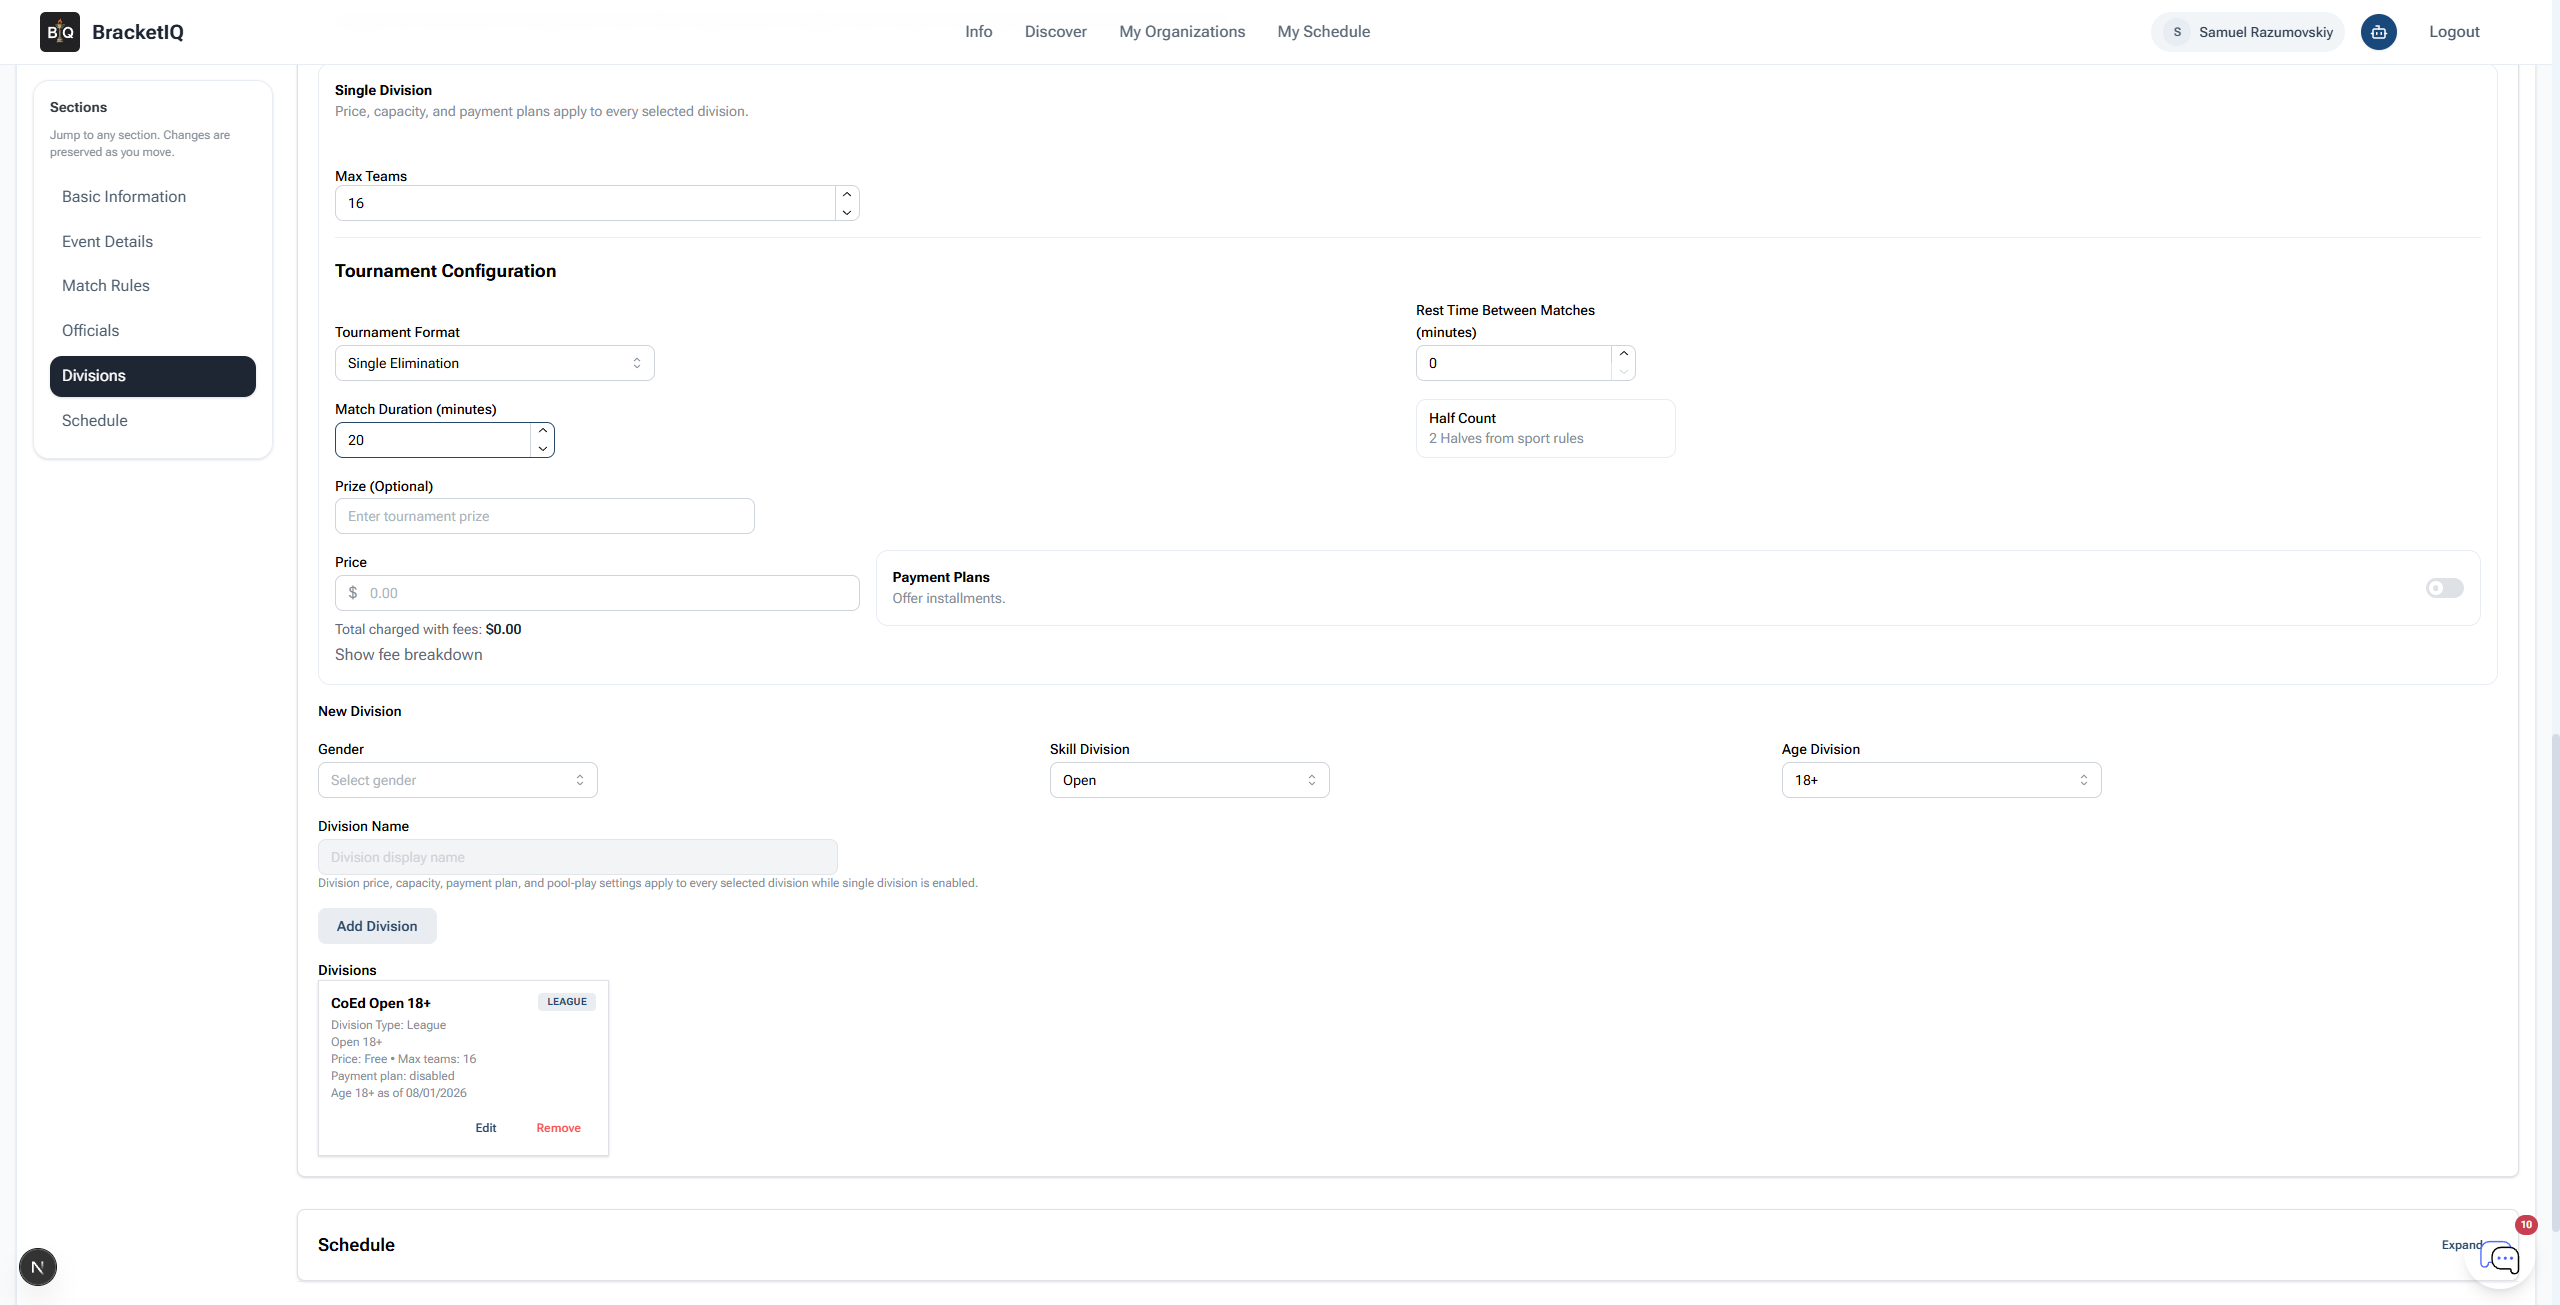
For this example, the tournament uses:
- Single division enabled.
- Max teams:
16 - Tournament format:
Single Elimination - Match duration:
20minutes. - Half count:
2 Halves from sport rules - Division:
CoEd Open 18+ - Price: free.
If you are charging teams, set the team price before you add the division so the published event page and registration flow are clear. For a more payment-focused walkthrough, use the paid pickup event payments guide as the starting point for how BracketIQ shows fees and checkout.
Add fields and schedule windows
Open Schedule after the division is in place. Select the fields this tournament can use, choose the day, and set the start and end time for the scheduling window.
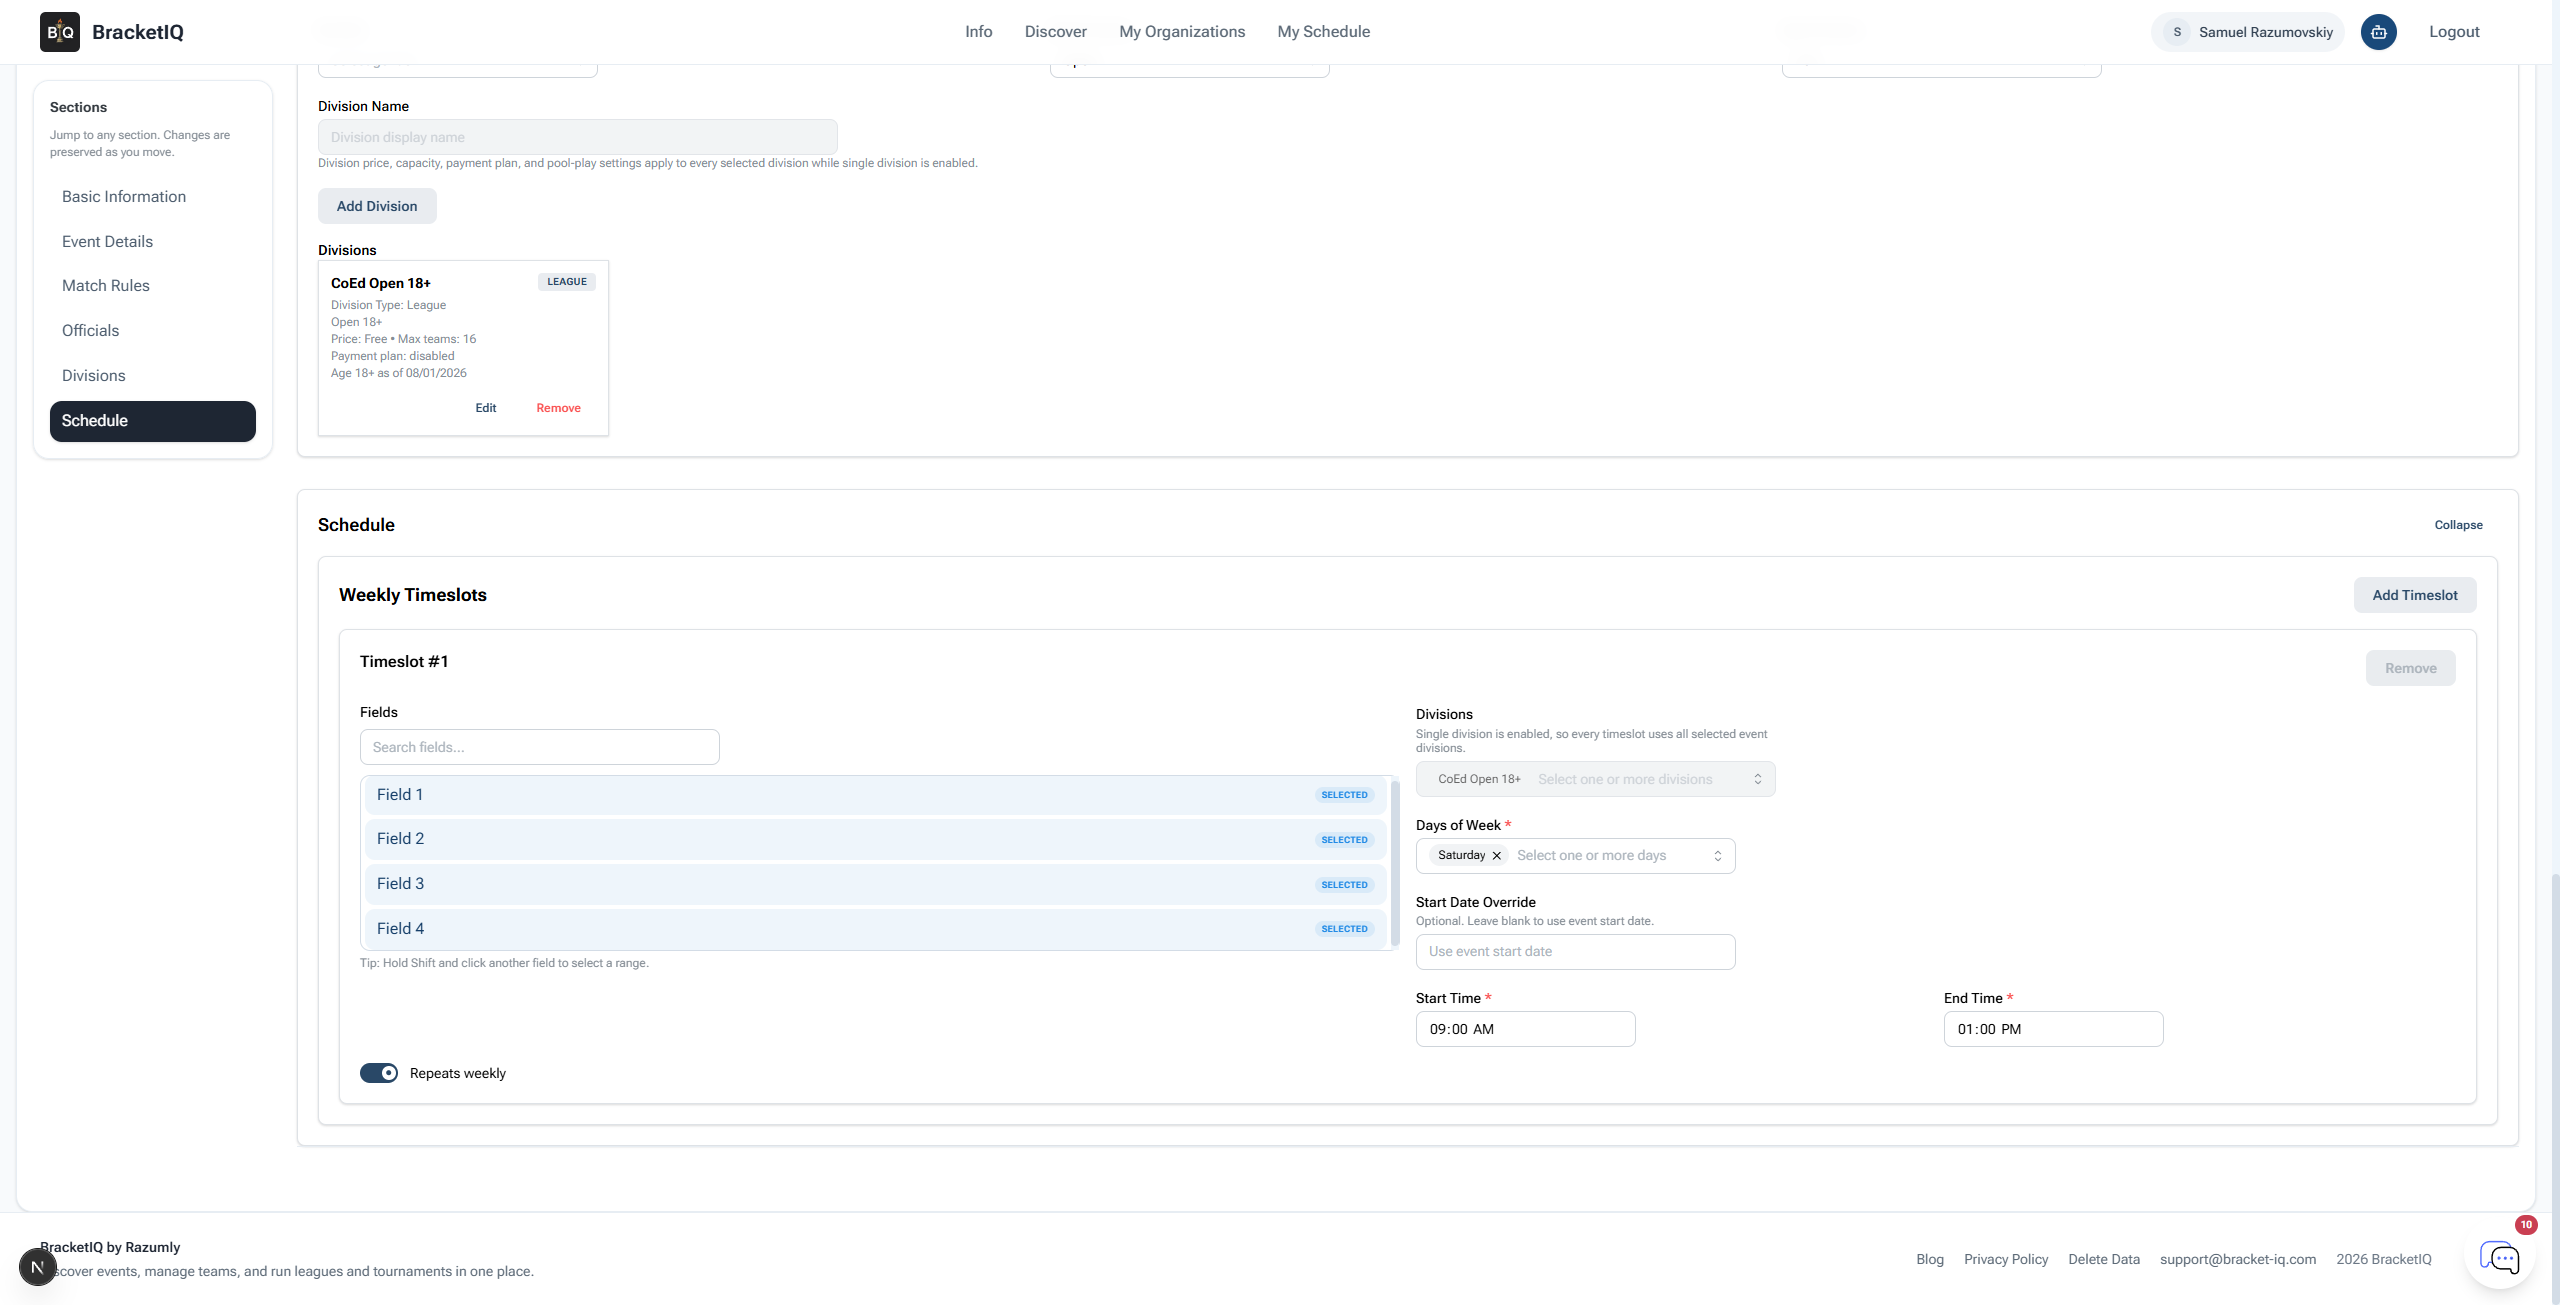
For the example tournament, all four fields are available on Saturday from 9:00 AM to 1:00 PM.
Think of this section as the availability BracketIQ can use for tournament matches. It is not the final day-of schedule yet. It tells BracketIQ which surfaces and time windows are available when you later build or manage the bracket schedule.
Create the tournament
When the image, tournament type, date, location, division, capacity, and schedule window are ready, click Create Event. BracketIQ saves the tournament and opens the event dashboard.
Review the saved event before you publish. Check the title, sport, date, location, capacity, division, and schedule section. If anything is wrong, keep the tournament in draft mode and edit it before sharing the link.
Publish the tournament
Draft events are not ready for public registration. To open the tournament, change the status from Draft to Published and save.
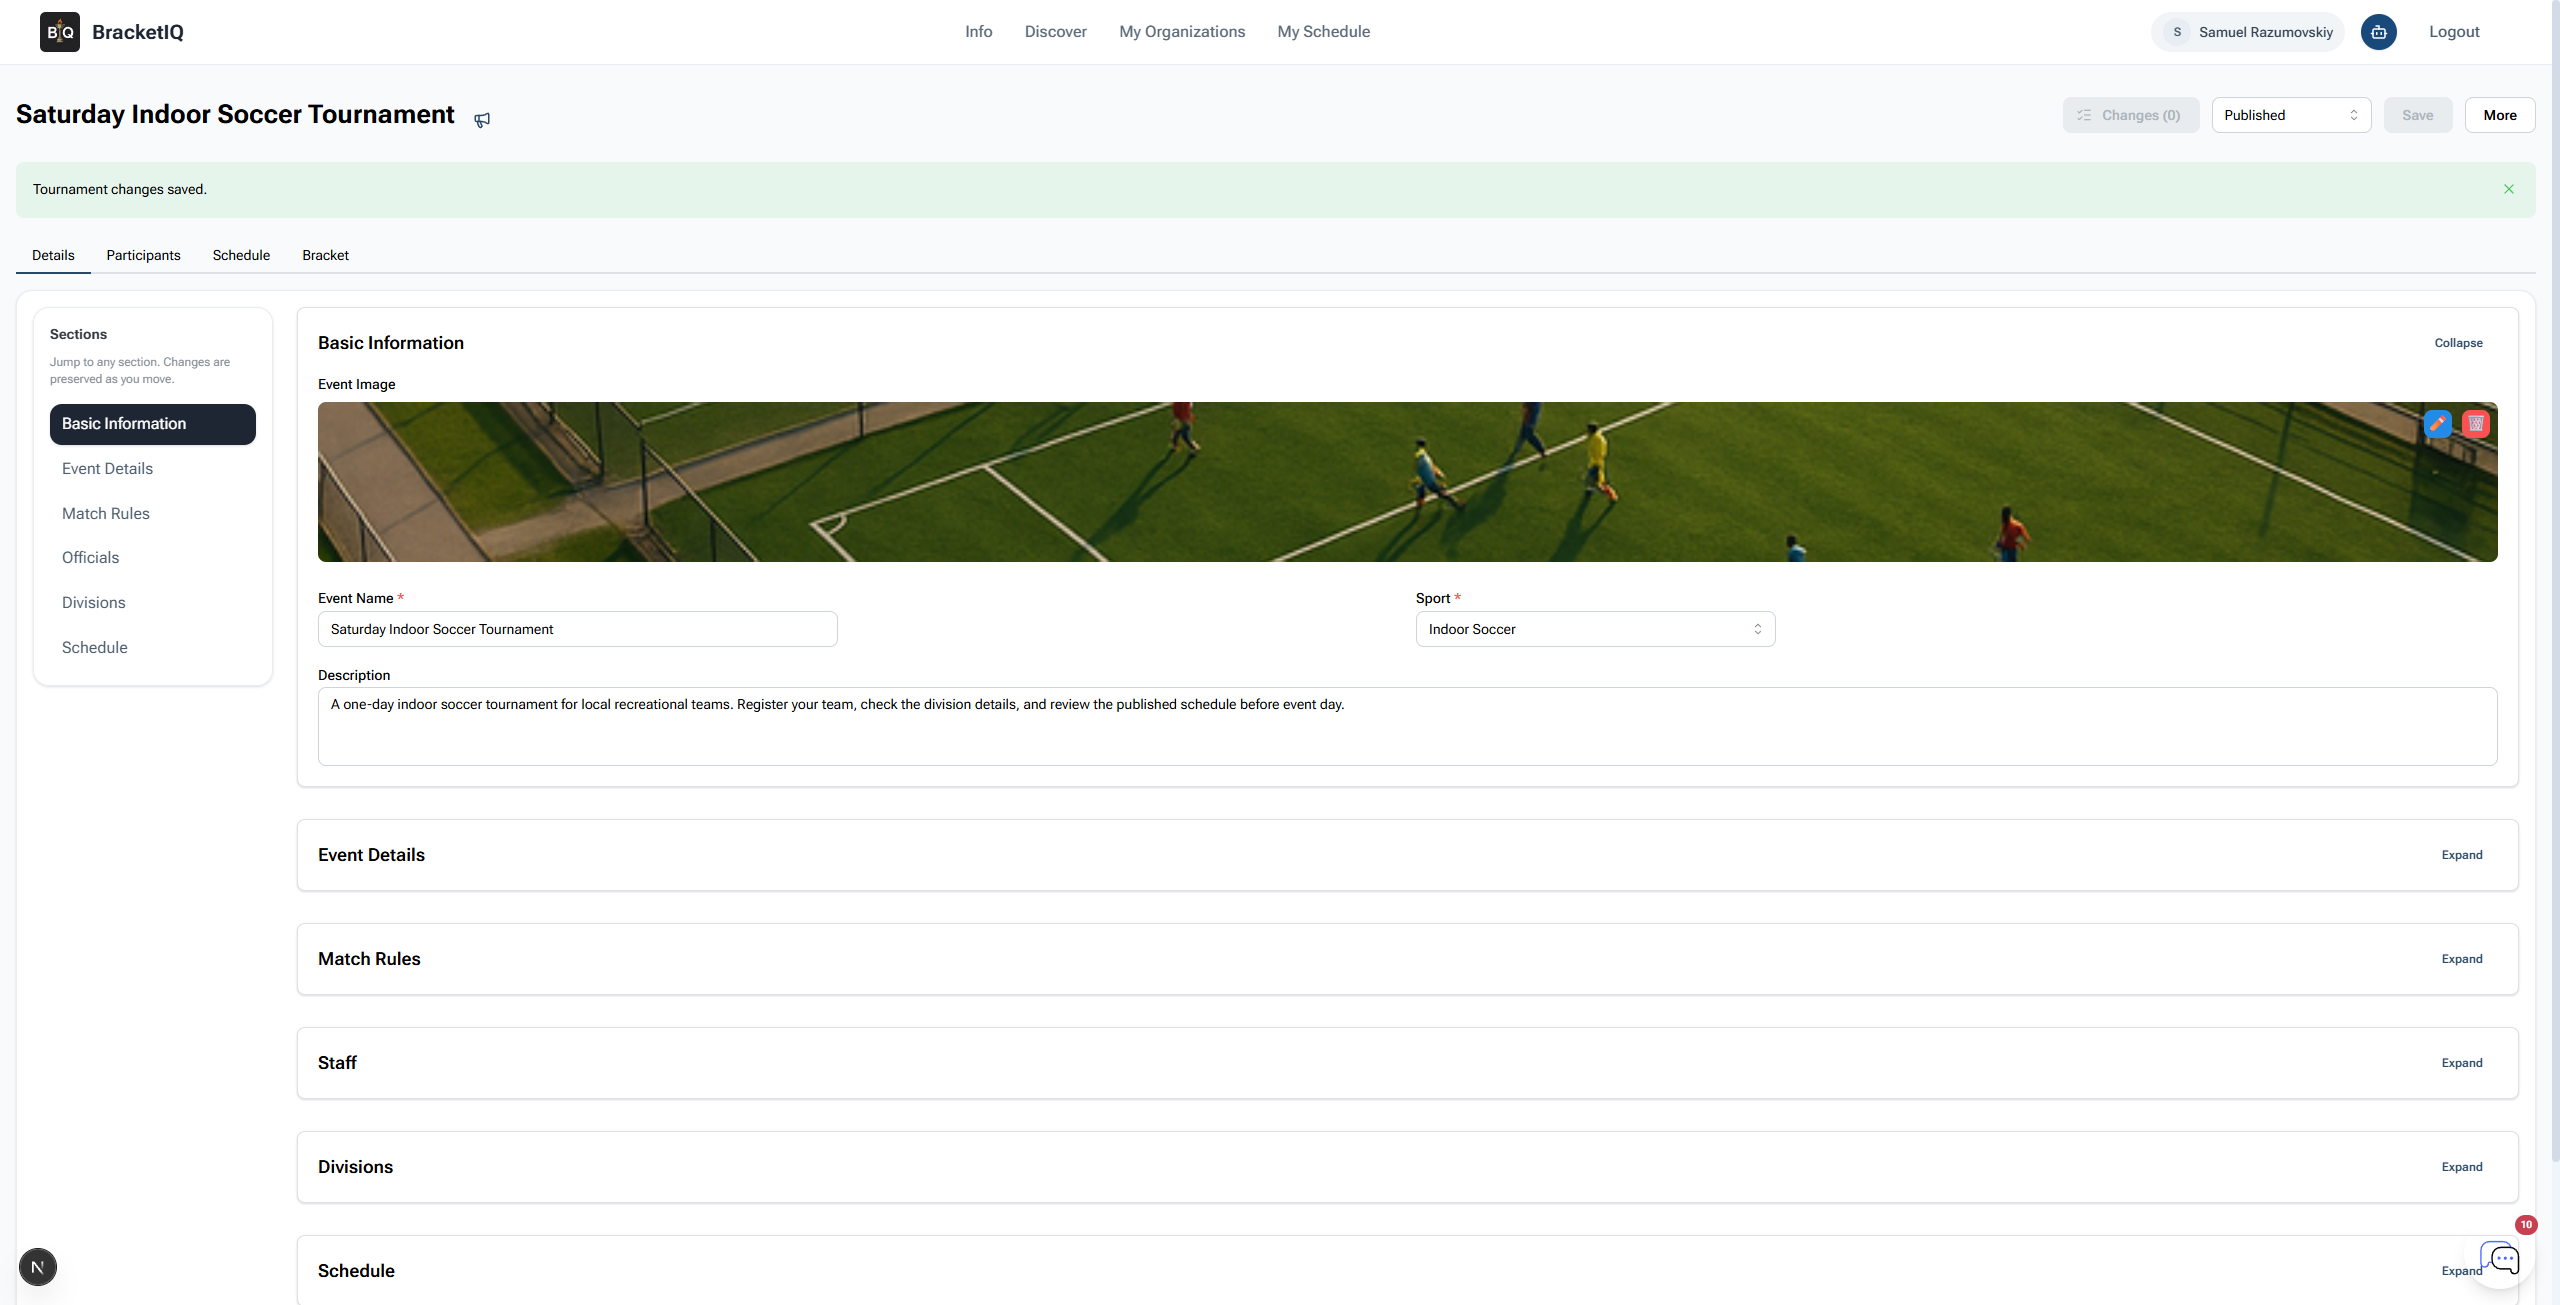
After saving, confirm the status stays Published and the page shows no unsaved changes.
Check the public tournament page
Open the public event page after publishing. This is the page teams will use to understand the tournament and start registration.
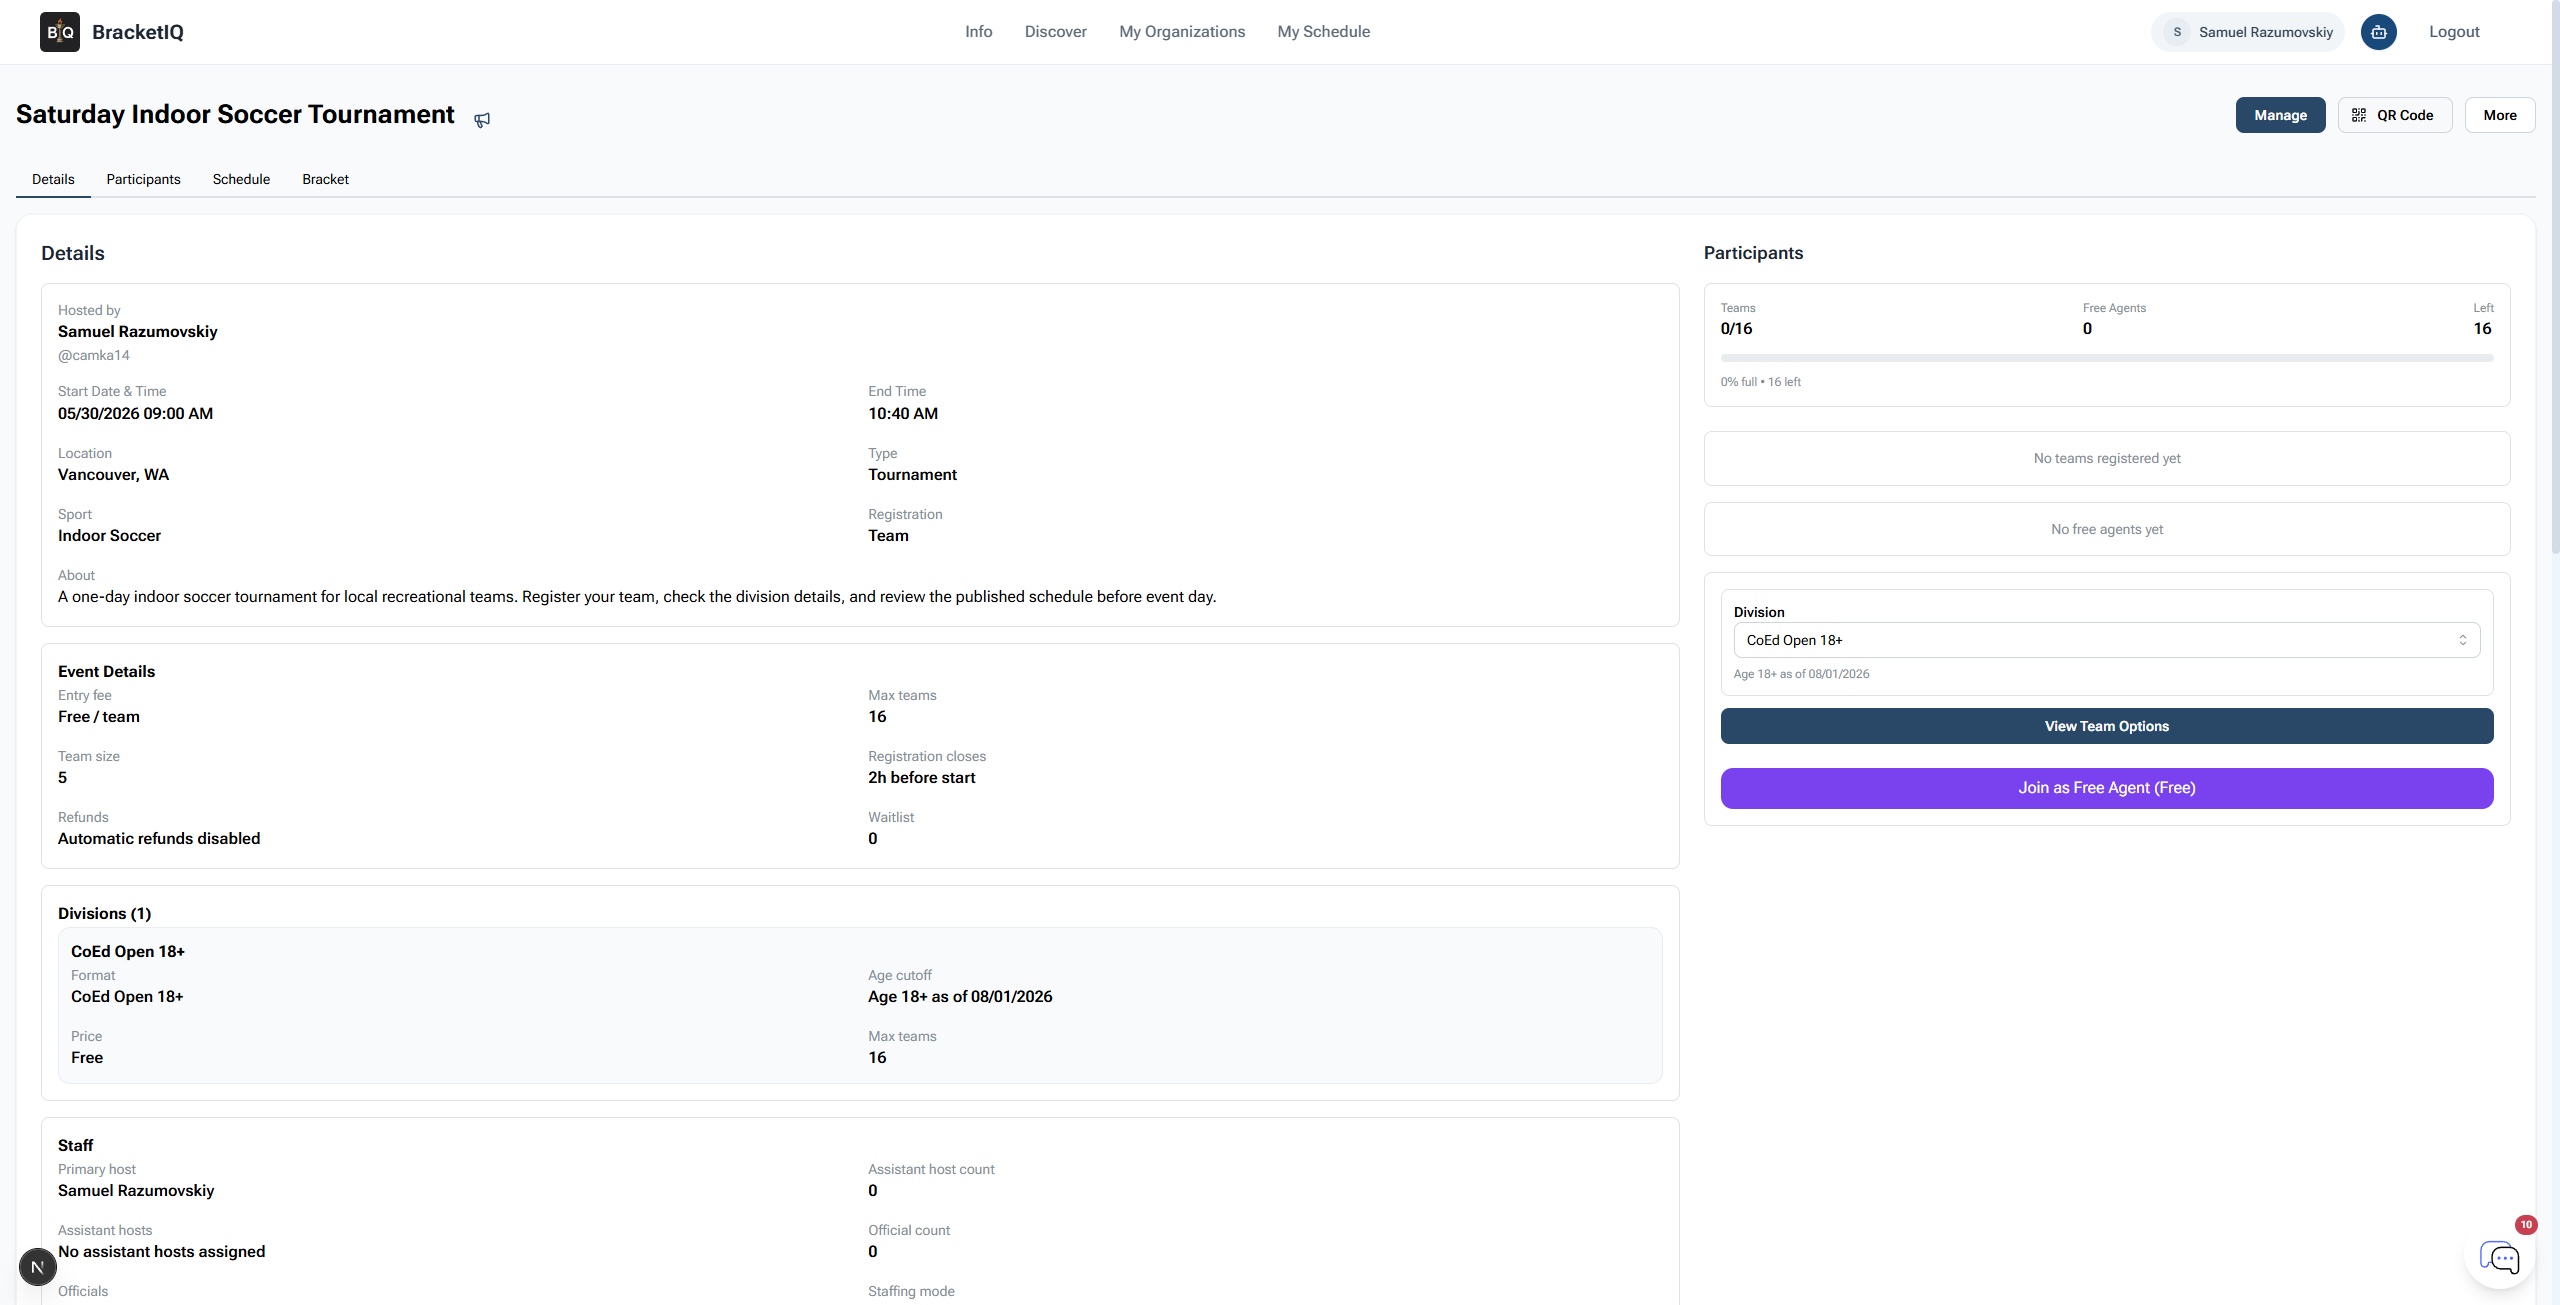
Check the player-facing details:
- Tournament name and image.
- Date and location.
- Sport and event type.
- Registration type and team size.
- Entry fee.
- Max teams.
- Division details.
- Registration cutoff.
This final check catches the most common setup mistakes before players start signing up.
Tournament creation checklist
Use this checklist for the next tournament you create:
- Add a clear image, sport, name, and description.
- Set Event Type to
Tournament. - Confirm team size and registration cutoff.
- Set the date, time, location, and number of courts or fields.
- Name the courts, fields, rinks, or surfaces.
- Add at least one division.
- Set capacity and price before publishing.
- Add schedule windows for the available surfaces.
- Create the event, then publish it.
- Open the public page and verify what teams will see.
Tournament registration, management, pool play, court scheduling, check-in, and results are separate workflows. Create the tournament first, then use How to Set Up Tournament Registration for Teams and Players when you are ready to open team signups. Use How to Manage a Tournament in BracketIQ when teams are joining and ready to be scheduled. If your format uses pools before the bracket, continue with How to Run a Tournament With Pool Play.
